5.0 + NA in Texas
#1
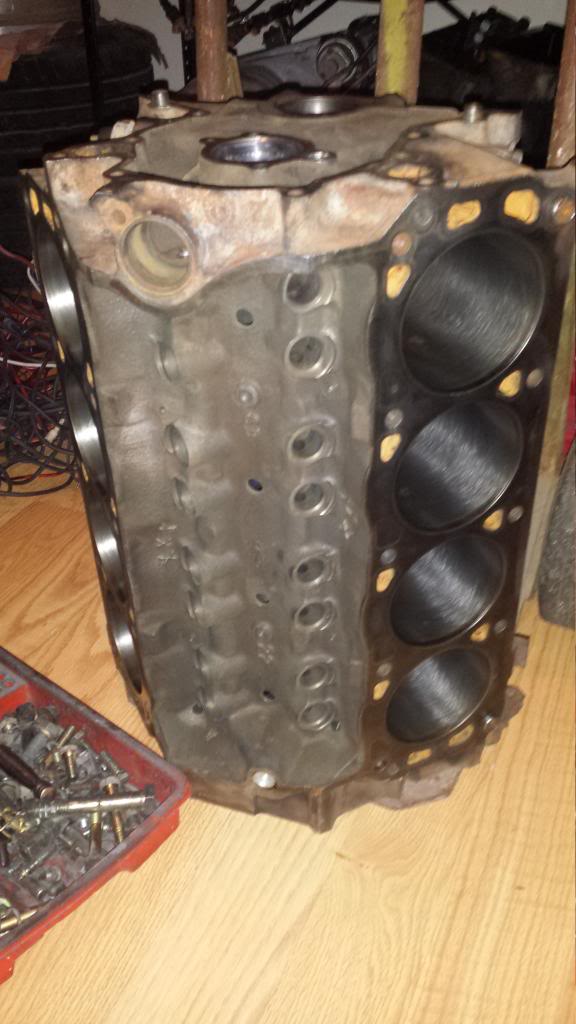
I caught the V8 Miata bug about a year ago when I saw a LS2 Miata at a car show. I started reading up on the subject and LSX is an expensive route. So I'm taking the cheaper road to a 5.0. I have been collecting parts for 8 months now.
Things I have:
86' block (currently at the machine shop)
Flat top forged pistons
93' cobra intake and 65 mm throttle
98' GT40p heads
E303 cam
Trick flow stage 1 cam
Under drive pulley
91' 5.0 thunderbird Wire harness and ecu
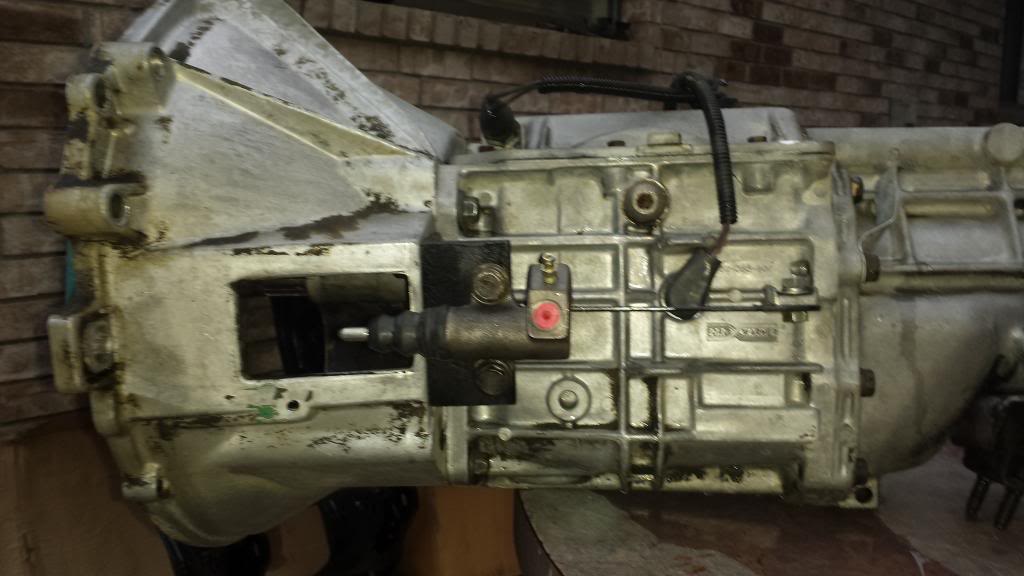
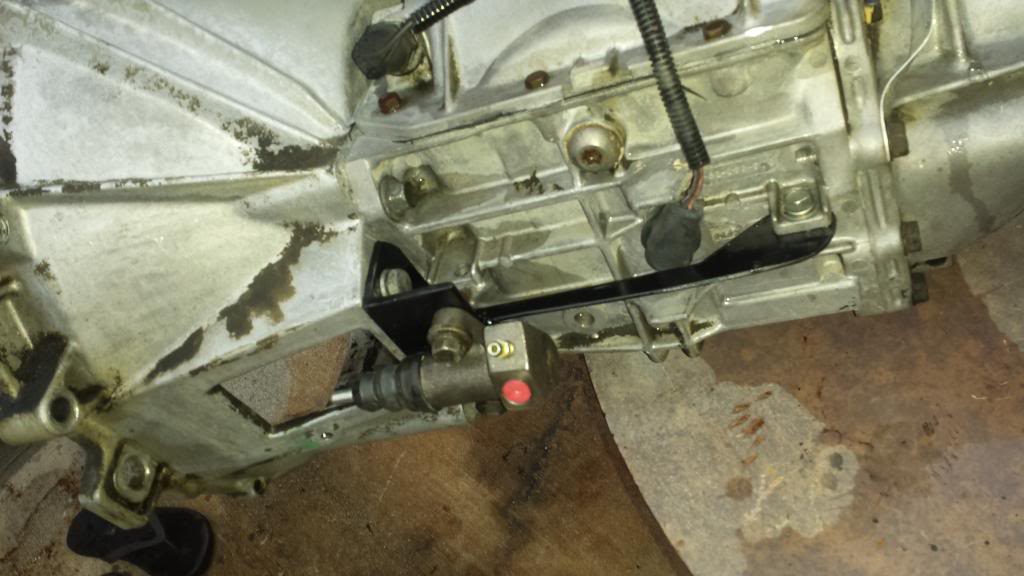
88' T5 tranny, flywheel, bell housing, drive shaft
Mini starter
Pro 5.0 power tower shifter
91' thunderbird super coupe diff. 8.8 irs track lok 3.27
It's all going in my 93' NA black and tan. The car has 210k on it currently and I part time deliver pizzas in it so it is acquiring miles quickly. The plan is to drive the stock motor and tranny into the ground and have all of my 5.0 components ready and waiting.
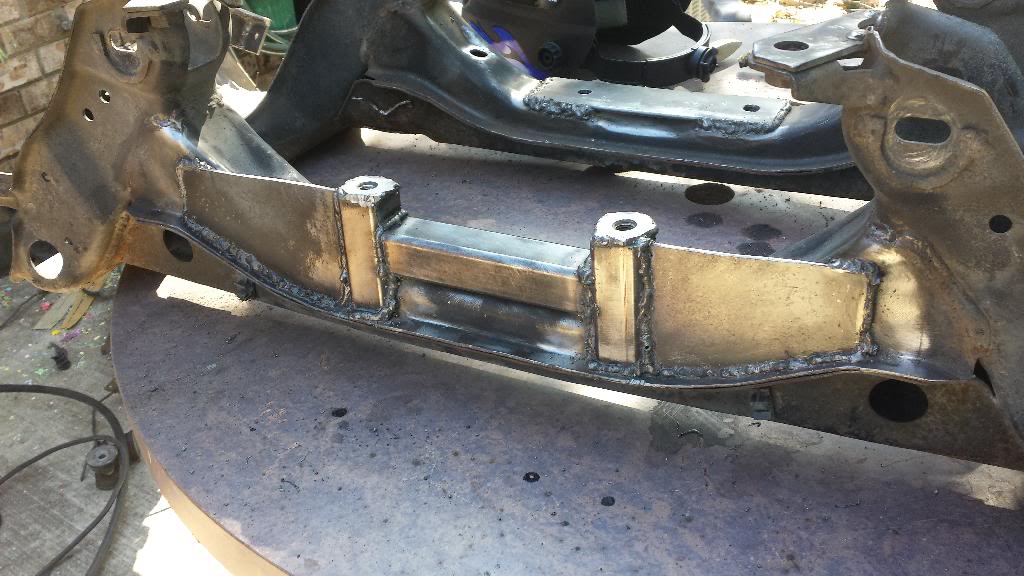
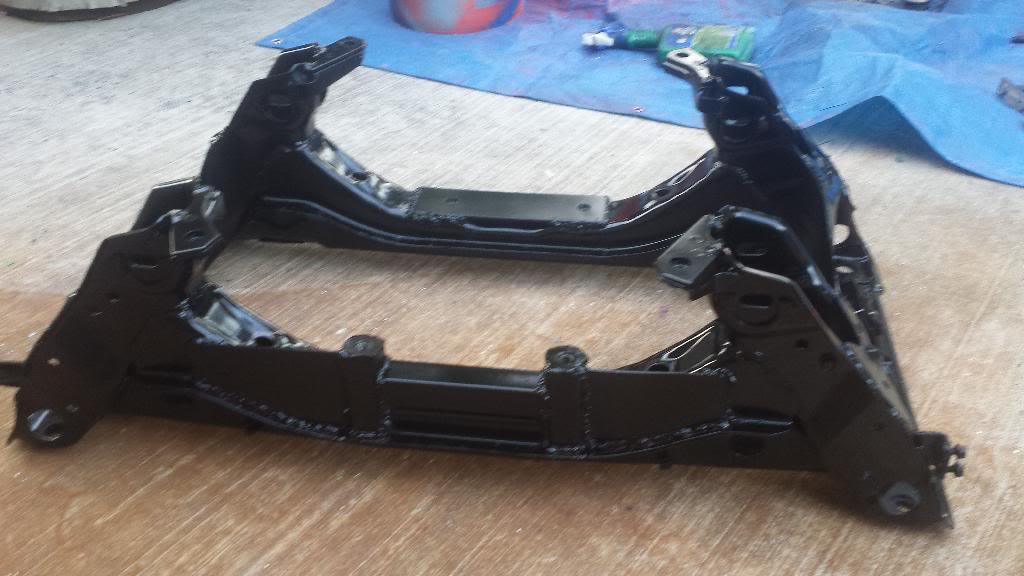
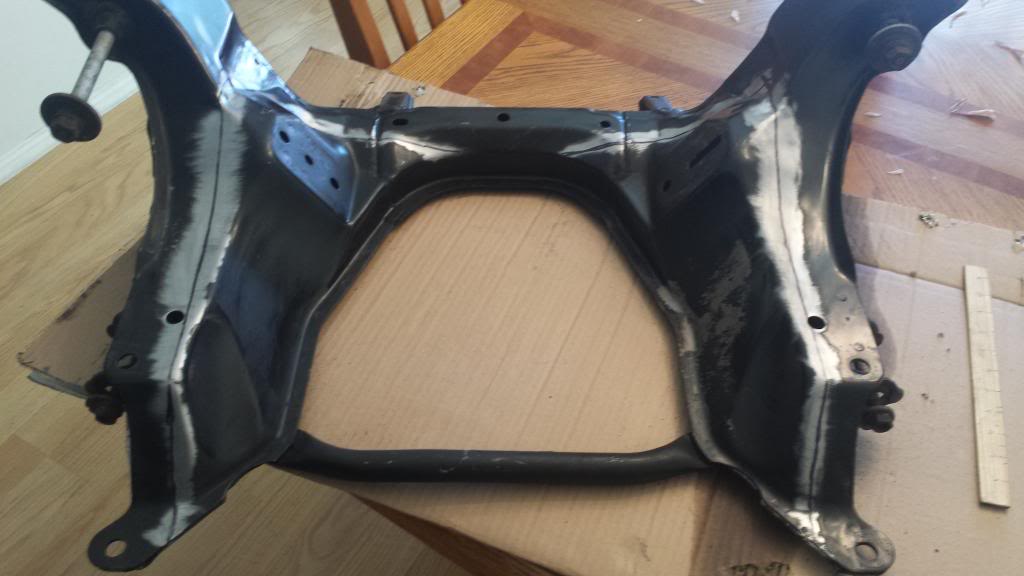
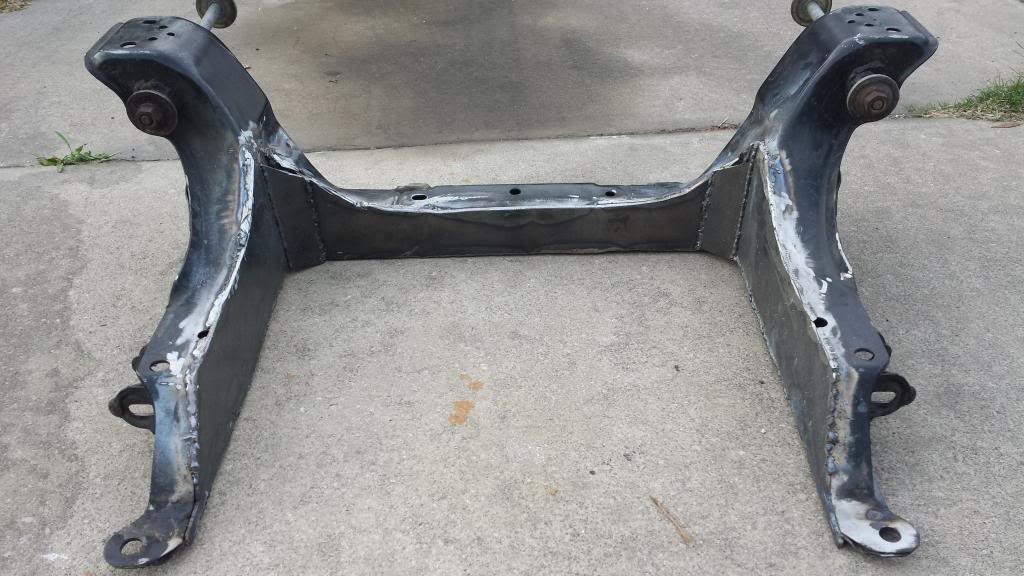
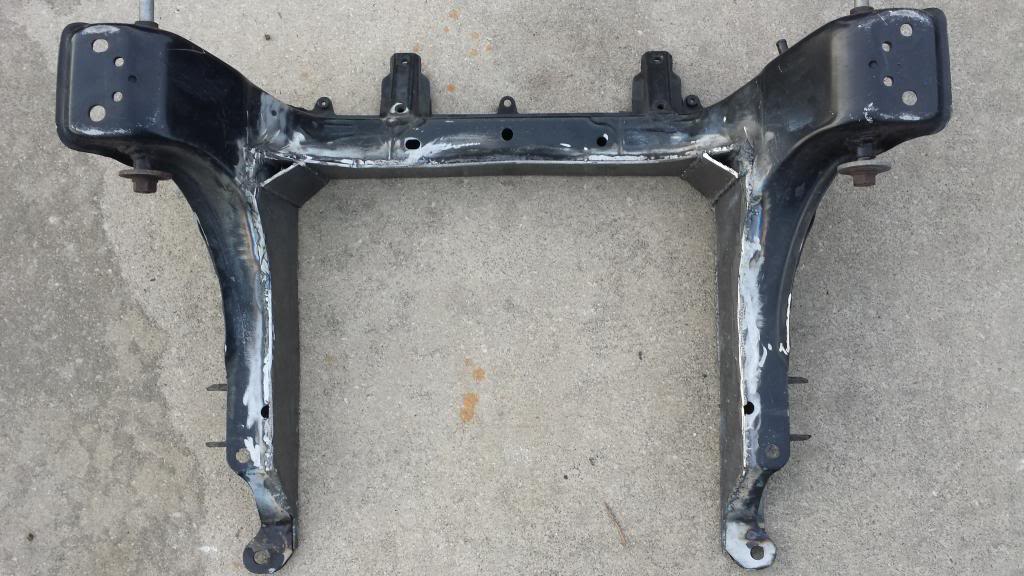
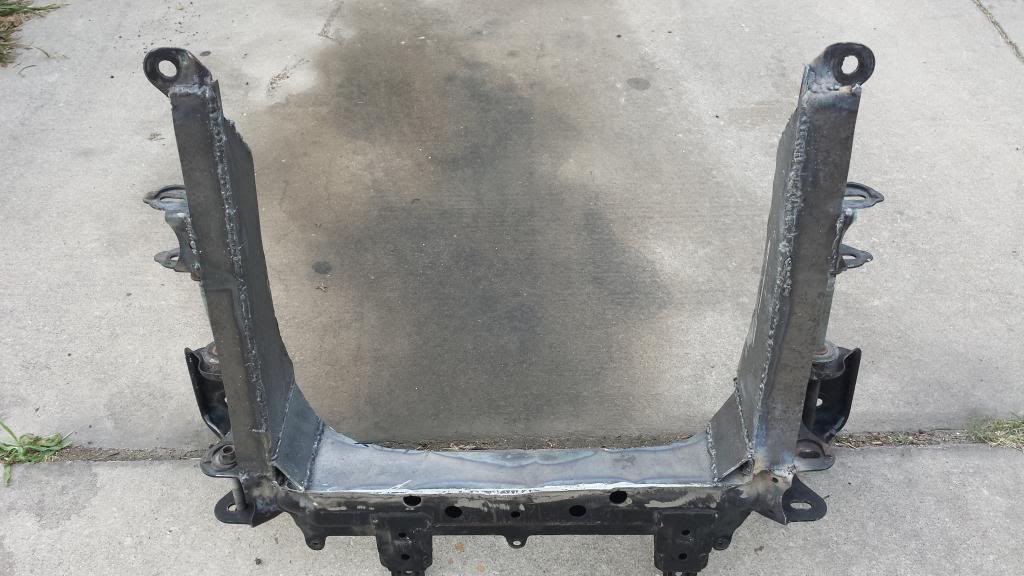
I have front and rear subframes from a 95' Miata that I parted out. I am chopping on them while my 93' is still on the road.
Last edited by charchri4; 07-02-2014 at 04:33 AM.
#6
#9
Please forgive the ugliness. It is a time consuming process but at least I am making head way.
UPDATE: I have been asked to provide mesurements of my motor mounts.
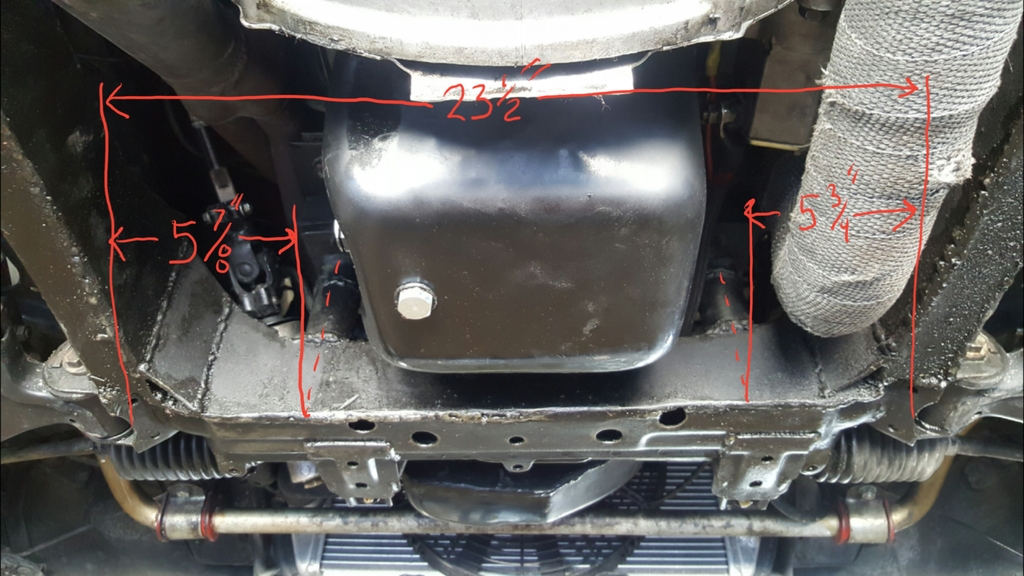
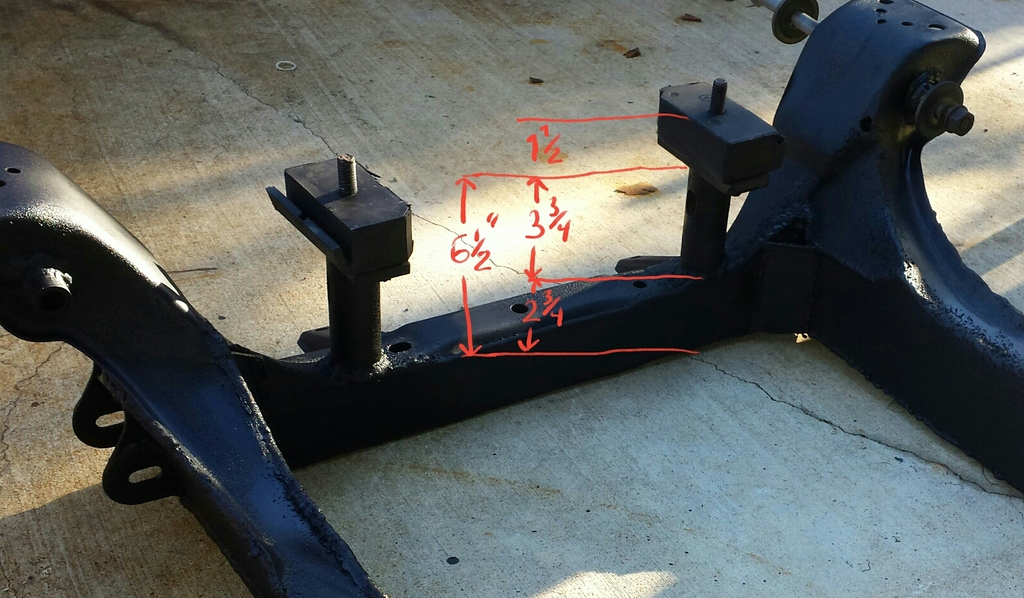
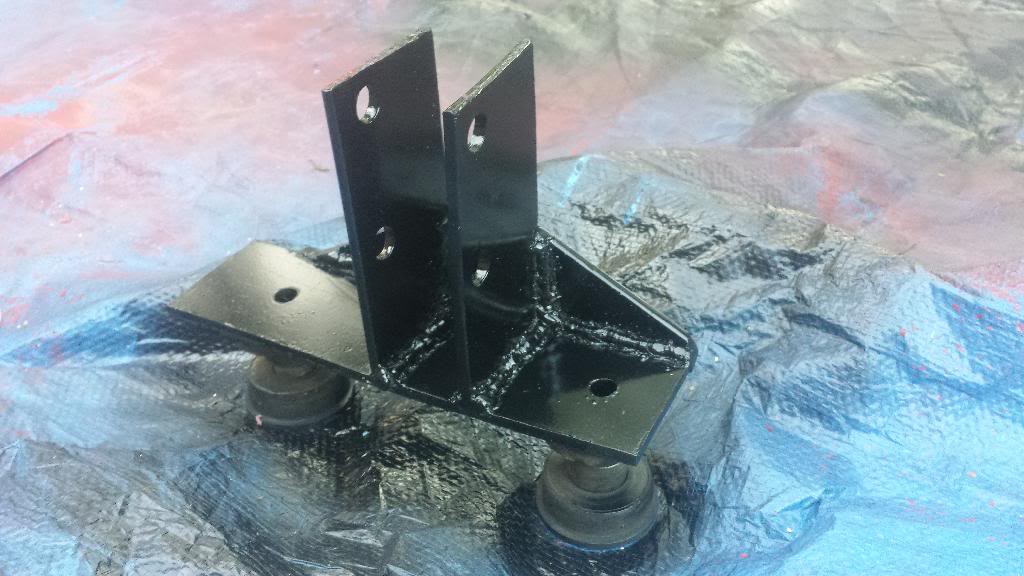
The motor mount came from a 70s dodge truck. Not sure of the specific year or model. I just looked at every mount the auto parts store had in stock and settled on the one in the picture.

UPDATE: I have been asked to provide mesurements of my motor mounts.


The motor mount came from a 70s dodge truck. Not sure of the specific year or model. I just looked at every mount the auto parts store had in stock and settled on the one in the picture.
Last edited by rowen210; 06-18-2016 at 10:31 PM.
#10
Looking good. One point and a question, on the welds, (my opinion, I'm not a welder but I've been around some good ones) more welds fail from being too cold than too hot. Crank it up a bit, it you burn though, pull back, fill in the hole and get going. Those tall welds may not have much penetration so slow down or crank up the amps (may need to slow the wire speed down). Now the question, did you make a jig for the K-member or cut/weld on the table?
Keep up the good work.
RR
Keep up the good work.
RR
#11
I am a total novice at welding. I am going to bring it to a friend (great welder) and get his advice on what needs to be touched up.
I did not make a jig. I bolted supports to the top of the cradle and to the rear of the frame. I then tacked a few 1 inch square pipes to reinforce and help fight against warpage. All of my mesurments seem to line up but the real test is when it bolts up to the car for the first time.
I did not make a jig. I bolted supports to the top of the cradle and to the rear of the frame. I then tacked a few 1 inch square pipes to reinforce and help fight against warpage. All of my mesurments seem to line up but the real test is when it bolts up to the car for the first time.
#12
As i said before, i am still driving the 93 NA around untill i have completed a large portion of the fabrication or have a catastrophic failure on the stock drive train. Well i thought i overheated the little 1.6 when i lost the water pump belt. I didnt notice untill the temp gauge was 3/4 to the top. But a new belt has the 4 banger continues to chug along. This motor can really take a beatting. I shift at red line all day and i cant seem to kill the little thing. Weird.
I was fortunate to find a pair of 40 series flowmasters and a mass air wire harness off of a 1989 mustang at the bone yard. Score! Also my block will be outta the machine shop in a few days. Time to order some headers and a motor rebuild kit. But in two weeks i will be going out of the country on business so... i am in a hurry up and wait situation. Once i get back i will be hitting this project hard.
I was fortunate to find a pair of 40 series flowmasters and a mass air wire harness off of a 1989 mustang at the bone yard. Score! Also my block will be outta the machine shop in a few days. Time to order some headers and a motor rebuild kit. But in two weeks i will be going out of the country on business so... i am in a hurry up and wait situation. Once i get back i will be hitting this project hard.
Last edited by rowen210; 05-11-2014 at 12:13 AM.
#13
#15
A couple of questions on the rear sub frame:
- Where did you get the measurements?
- Is there a way to adjust the pinion angle?
Cool work, BTW. I might consider fabbing my own rear mount like you did. But I don't think I could fab the front. I'm just not that good.
I did go around and weld the seams on my sub frame. I know that stitch welding keeps the material cooler, and helps prevent warping. I also used a weld through galvanizing compound.
Last edited by .boB; 05-17-2014 at 08:24 AM.
#16
I kind of stole the idea for the diff mount... MiataV8 Conversion: Rear subframe
I positioned my diff as close to the subframe as i thought possible for two reasons. First i wanted as much room as i could get for the exhaust. Secondly i can always add shims to drop the diff down lower if needed. This provides some level of adjustment.
I positioned my diff as close to the subframe as i thought possible for two reasons. First i wanted as much room as i could get for the exhaust. Secondly i can always add shims to drop the diff down lower if needed. This provides some level of adjustment.
#20
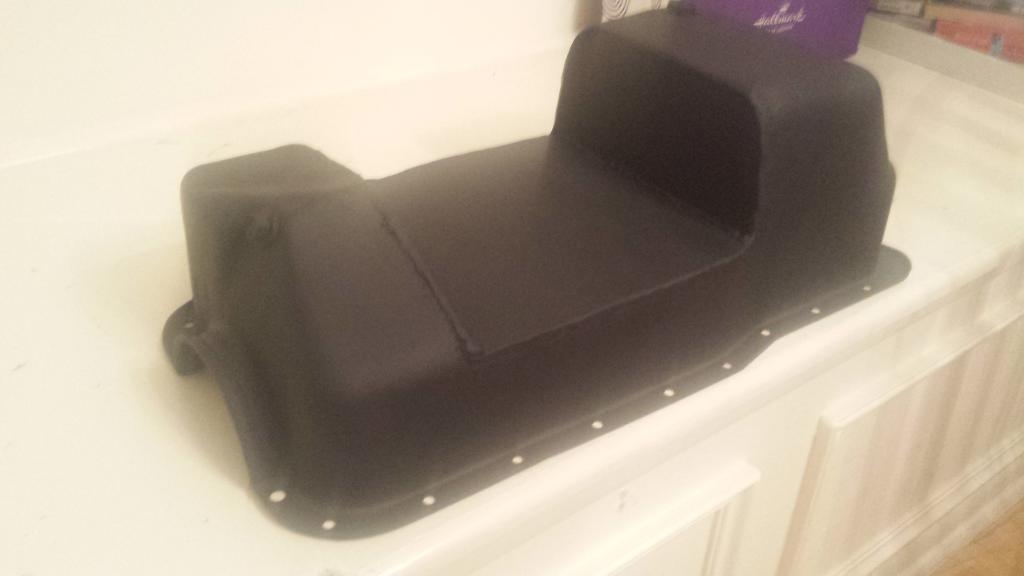
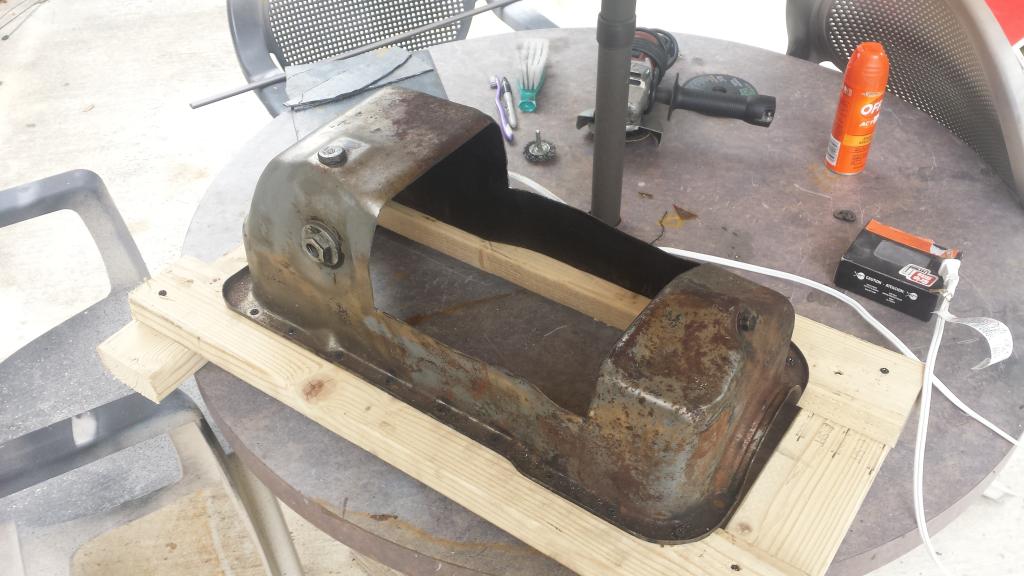
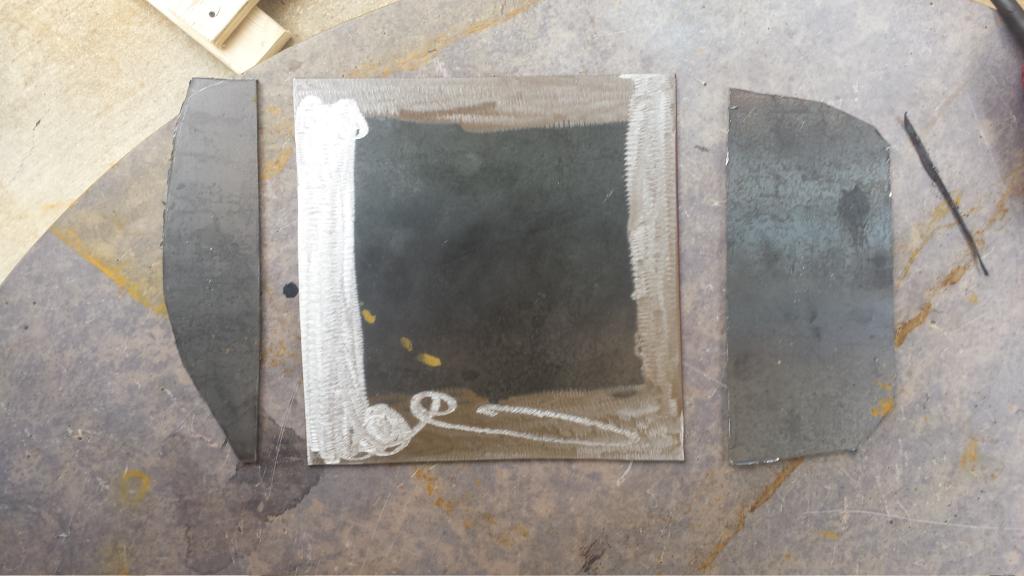
EDIT: I made this pan based on "monster miata" mesurements. After the motor was mounted i realized that too much capacity was removed from the sump. Over all i lost 1.5 quarts of capacity. Since then i made a new pan with no capacity loss. If you are looking at this looking for ideas on your own DIY then learn from my mestakes. Dont blindly take mesurements from the internet. Test fit the motor 100 times if thats what it takes to get the best fit.
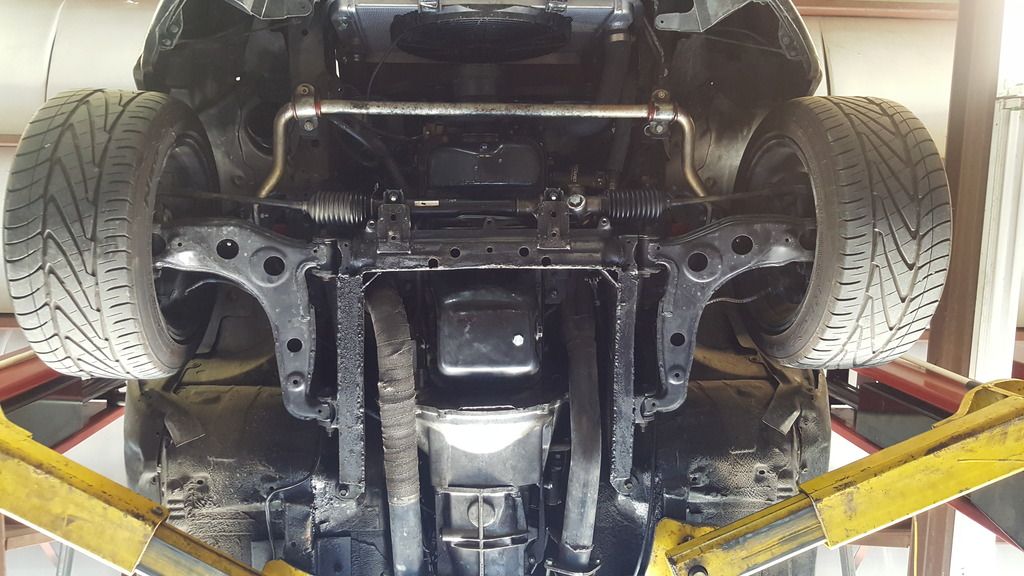
The second pan i made had much more capacity. I only needed to modify the front half of the pan to clear the rack. The sump area was mostly untoched.
Last edited by rowen210; 06-18-2016 at 10:29 PM.
#21
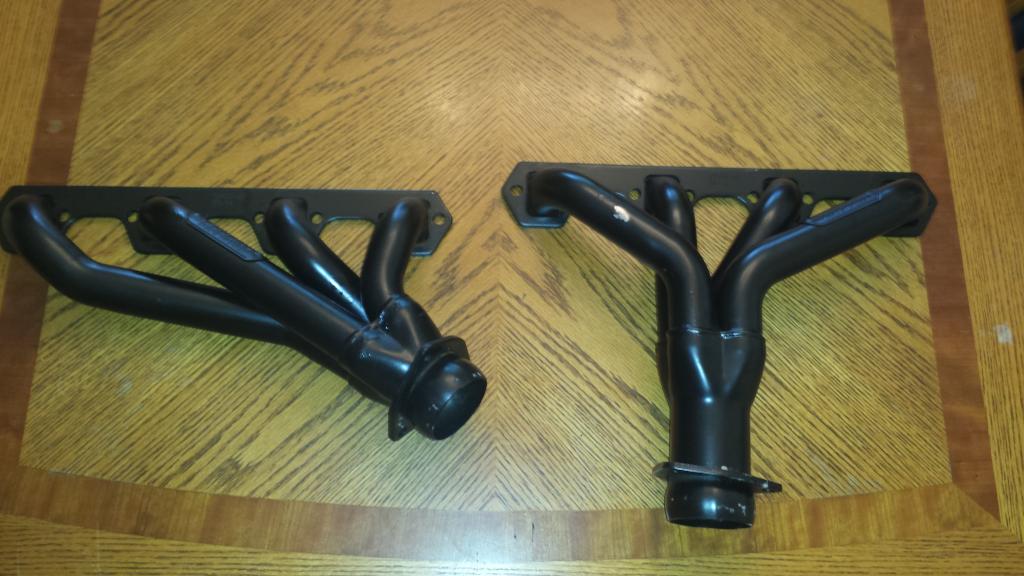
Finally got my headers. They are the Hedman mismatch 88400 & 89500. Unfortunately they do not fit my GT40P heads. I will have to go back to the junkyard and get some 1996 explorer 3 bar heads or drop $2500 on some AFR aluminum heads... because I am just made of money.
As I said before, I am doing all of the fab work while my 1993 miata is still on the road sacking the last bit of life from the 4 banger. So I am going to assemble the motor. Place it upside down on the floor. Mount the headers. And try to build the motor mounts. I do not have an engine bay to mock it up in so I will be relying on pictures from other builds, good old common sense, and a whole lot of luck.
#22
I think there is cheaper options for aluminum heads out there. I know AFR are the standards but when I was looking to build a Ford I thought you could get loaded ones for about half that and ebay specials for under $700.
Sorry you are having trouble. When you get down just go watch V8 Miata track videos and that will perk you right back up! Hang in there it's going to be worth it.
Sorry you are having trouble. When you get down just go watch V8 Miata track videos and that will perk you right back up! Hang in there it's going to be worth it.
#23
Be patient Oh Young One. I shopped a couple months and scored a set of new in a very shelf abused box AFR 165's from a speed shop in Maine that was clearing out some old inventory for $899.00. Shipping was about $50 bucks. Ebay score.
#24
A half hour a day spent hunting on the web pays off big time!
#25
I went to the junkyard to look for 1996 explorer GT40 heads. I found a set but they had 250k miles on them. They are going to be rebuild, valve job, with new springs but... thats just alot of miles. So what do you guys think?
Used high milage heads $120 + springs $120 + machine shop work $200-$300 = $500 +/-
Or aluminum Edelbrock heads ready to bolt on for $1000
http://www.summitracing.com/parts/ed...ions/make/ford
The GT40 heads are good and half the price but the Edelbrock heads are better, lighter, and i dont have to spend a few hours dying of heat stroke pulling them. Im having alot of trouble making up my mind but atleast time is on my side. I have lots of other fab work yet to do that will occupy me while i am deciding a direction on the heads.
Last edited by rowen210; 07-09-2014 at 06:21 PM.


