1990 LS Build
#1
Hey guys,
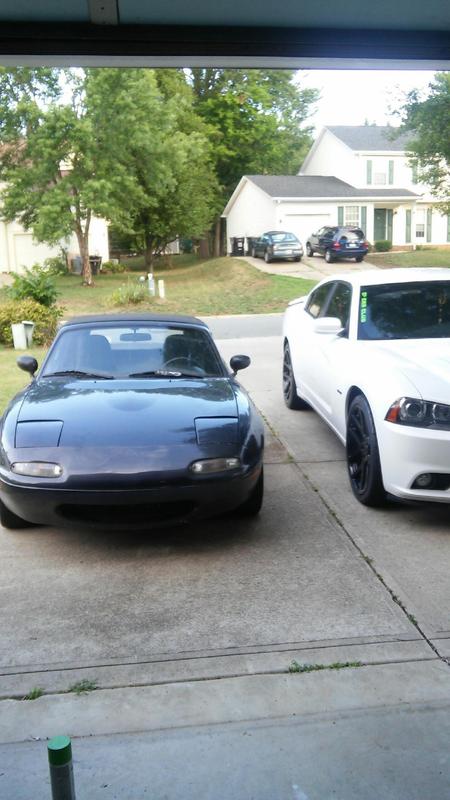
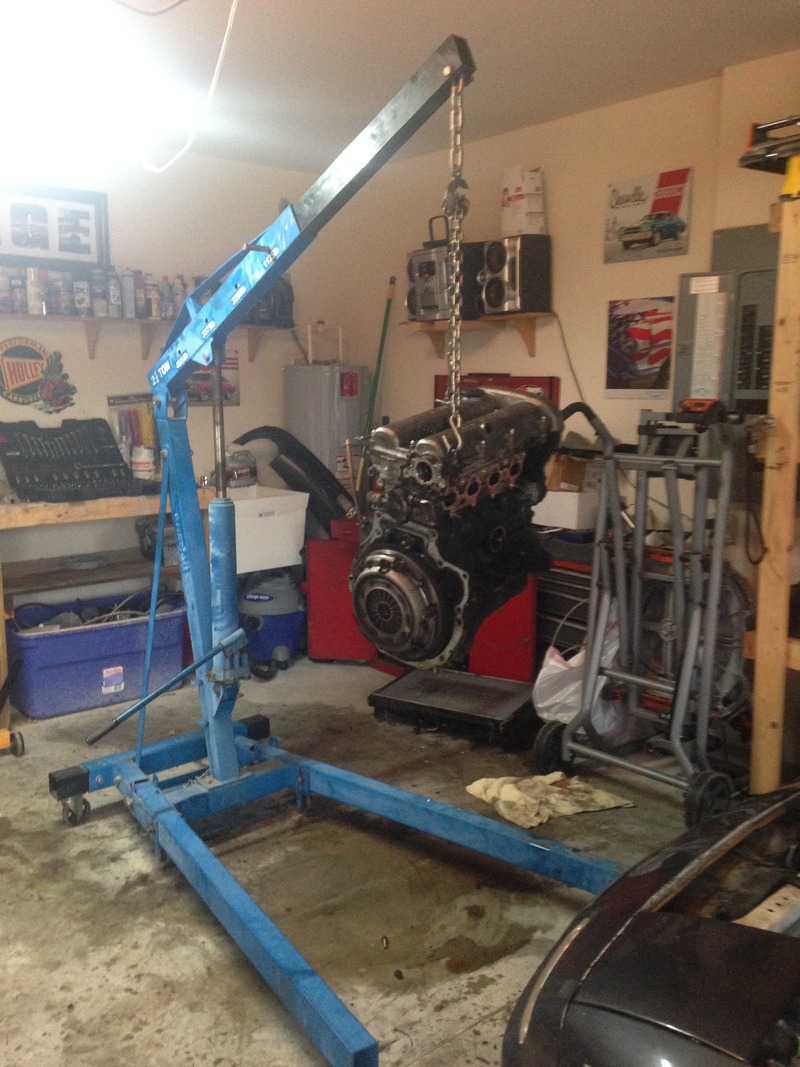
Wanted to use this as a build thread for the Miata that I picked up last weekend.
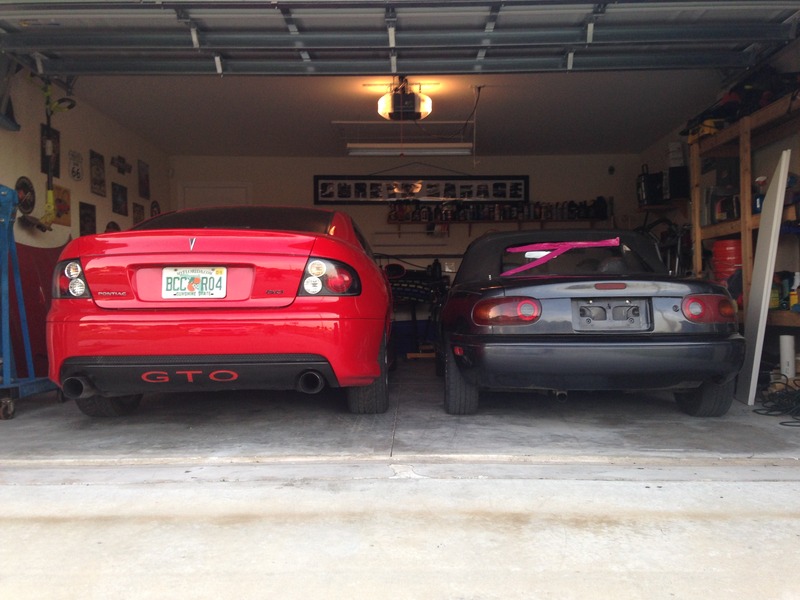
I owned a '97 NA a few years ago and fell in love with the car. It was 100% stock with a 5 speed and the most fun I've ever had driving a car. I currently own a 2005 GTO with an LS2/T56 that is for sale and a '14 Infiniti Q50 for daily driving. I don't plan on tearing into the GTO to build the Miata, I just need some garage space. (Even though an LS2 Miata sounds like fun.)
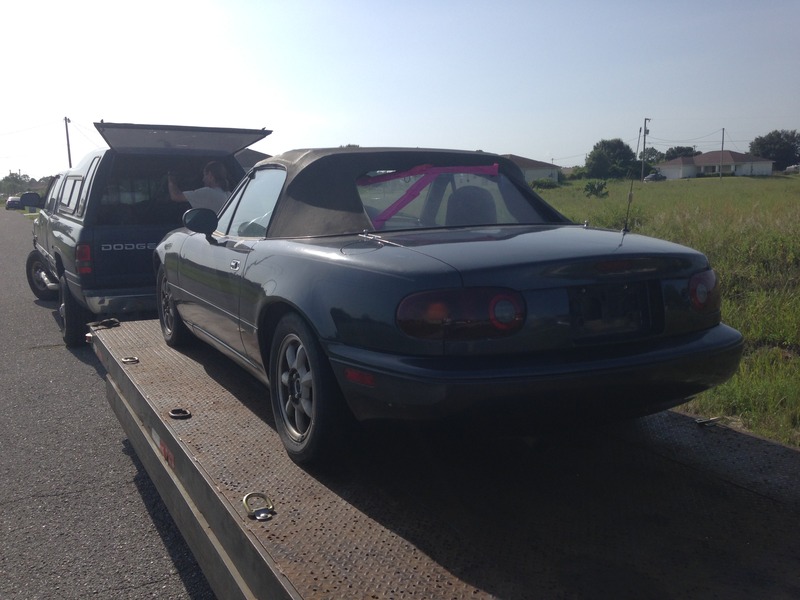
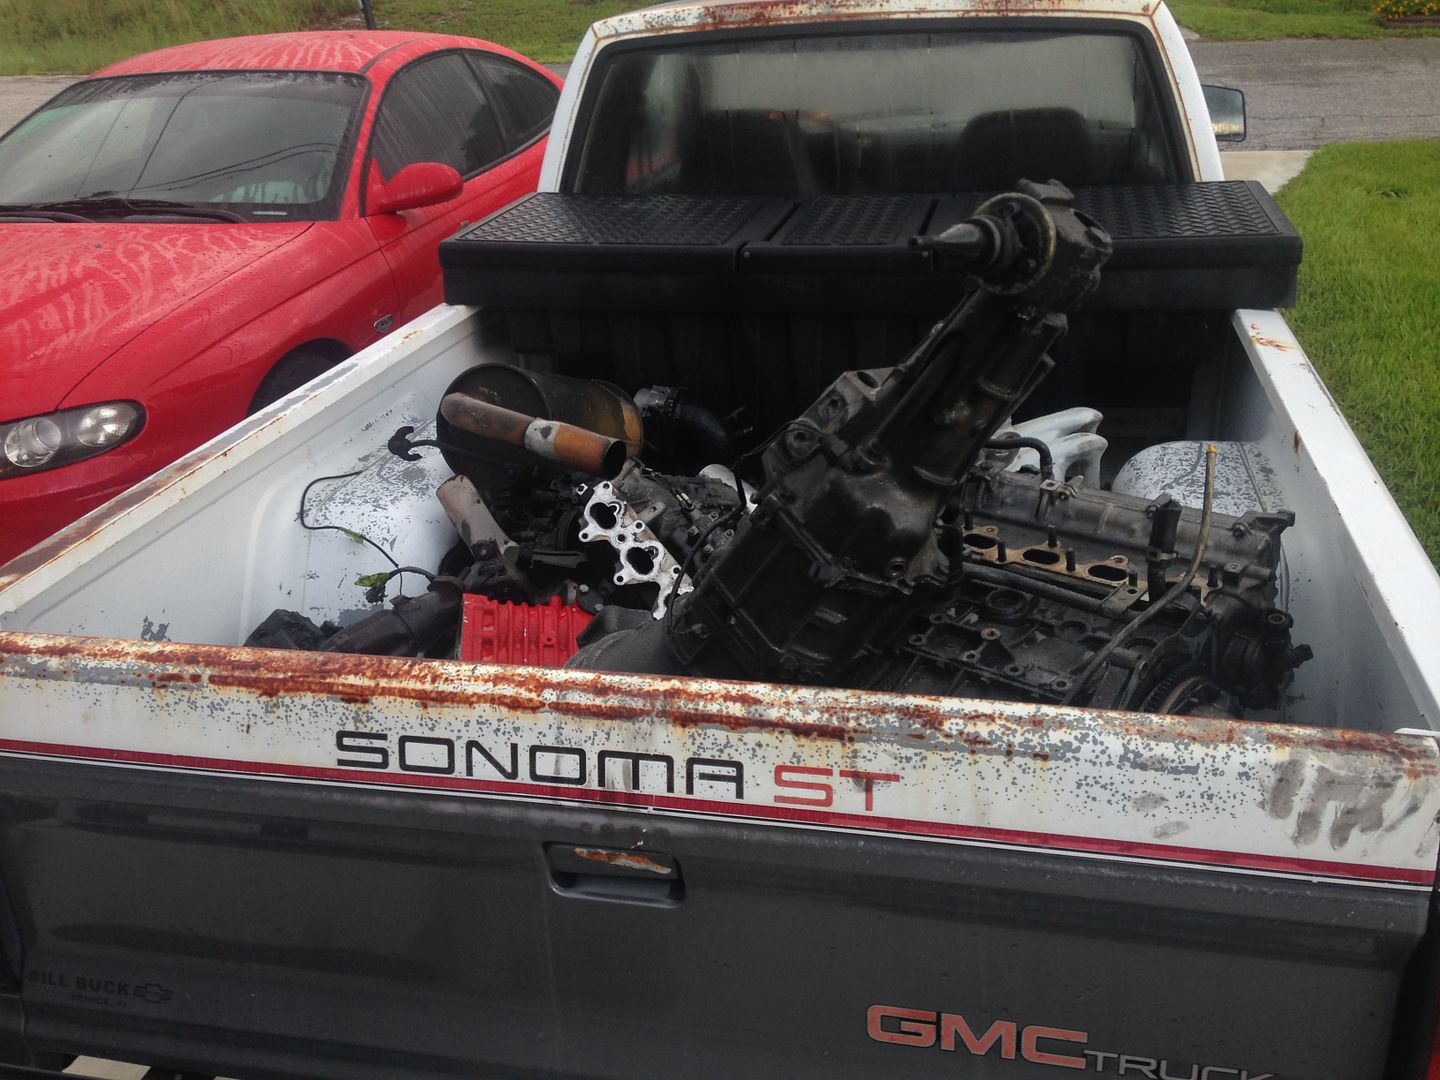
My brother spotted the Miata near where he lives in the Charlotte, NC area. I bought it for $800 and had it shipped down to Florida and began tearing into it.
I plan on doing an LS/T56 build and will keep updating this thread with pictures. I've done some builds in the past on some other vehicles, but not anything to this degree. I'm definitely looking forward to this build.
This looks like an awesome forum with some good guys on it. I'm amazed at some of your builds. Please be patient with me, I'm still doing a ton of research and will be asking a ton of stupid questions!
Last edited by ordonez1307; 08-03-2015 at 10:44 AM.
The following users liked this post:
charchri4 (07-31-2015)
#4
#5
Looking good so far. Your Miata project car does look clean and straight in these pics. Guess it had a color change somewhere in its former life. Now, are you sure you don't want to just lift the hood on that donor GTO sitting in the garage?  I think the tears will stop flowing after you yank some stuff from under that hood!!
 I think the tears will stop flowing after you yank some stuff from under that hood!!
The following users liked this post:
charchri4 (07-31-2015)
#6
+1^^ I said the same thing about a Camaro I tried to sell for a couple of months....
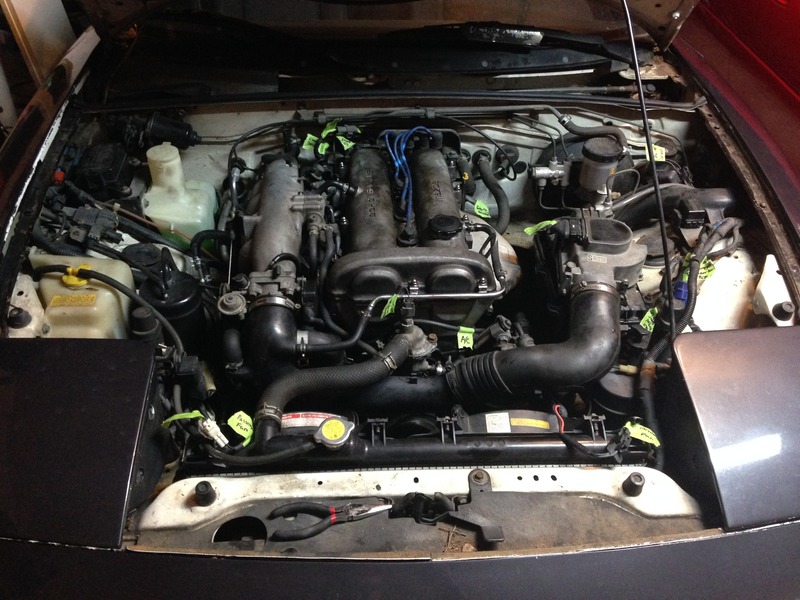
Anyway welcome to the forum!! Thanks for doing this thread I'm excited to follow along with you. A agree that was a heck of a buy at 800 bucks. Was it a running driving car when you bought it? I know it's a bit late but I'm not seeing very many labels on your wires and hoses....
Anyway welcome to the forum!! Thanks for doing this thread I'm excited to follow along with you. A agree that was a heck of a buy at 800 bucks. Was it a running driving car when you bought it? I know it's a bit late but I'm not seeing very many labels on your wires and hoses....
#7
Thanks man. It really was a great find at that price. Even with the $500 to get it from NC to my door, I still feel like I came out ahead.
At some point it was white. But its 25 years old with 240k on it, so I supposed it was bound to have had a face-lift at some point.
I really don't think I could tear into the Goat. I'll just keep it if I can't sell it!
"Running and Driving" is a little bit of a stretch. It would start and you could get it around, but it was pouring blue smoke and the rod knock was very loud. So... not exactly.
There's a lot more labels than the picture shows. I've also added a few more to the hoses.
Looking good so far. Your Miata project car does look clean and straight in these pics. Guess it had a color change somewhere in its former life. Now, are you sure you don't want to just lift the hood on that donor GTO sitting in the garage?  I think the tears will stop flowing after you yank some stuff from under that hood!!
 I think the tears will stop flowing after you yank some stuff from under that hood!!
I really don't think I could tear into the Goat. I'll just keep it if I can't sell it!
+1^^ I said the same thing about a Camaro I tried to sell for a couple of months....
Anyway welcome to the forum!! Thanks for doing this thread I'm excited to follow along with you. A agree that was a heck of a buy at 800 bucks. Was it a running driving car when you bought it? I know it's a bit late but I'm not seeing very many labels on your wires and hoses....
Anyway welcome to the forum!! Thanks for doing this thread I'm excited to follow along with you. A agree that was a heck of a buy at 800 bucks. Was it a running driving car when you bought it? I know it's a bit late but I'm not seeing very many labels on your wires and hoses....
There's a lot more labels than the picture shows. I've also added a few more to the hoses.
#8
8/1 Update:
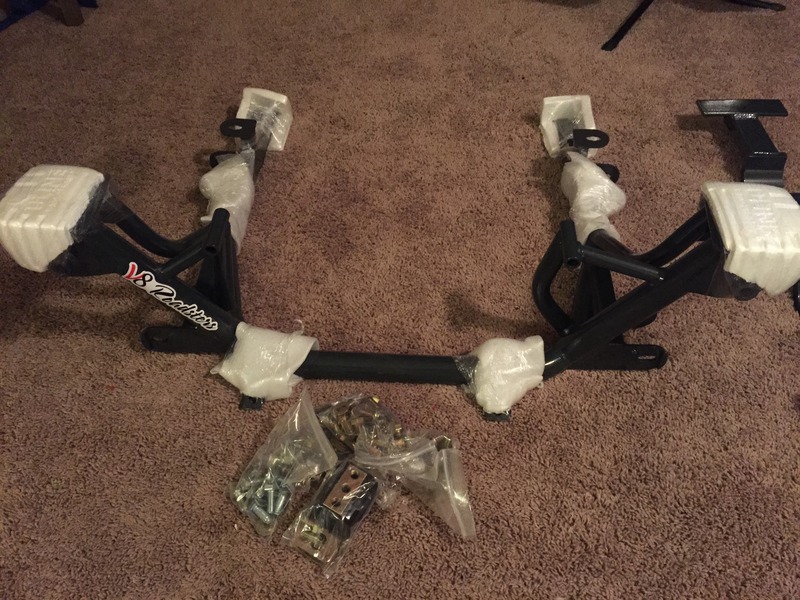
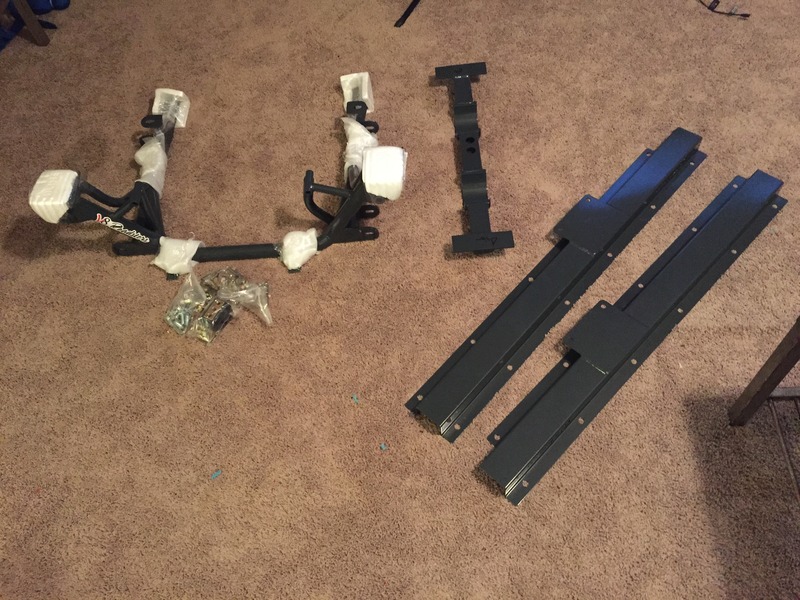
I ordered the V8R kit last week, so now I need to find some time under the hood to get the notches cut out of the back of the bay and beat out the tunnel.
I've started stripping the interior this week. The seats and top are out, along with the center console. I hope to get the dash out this weekend and post a few more photos.
I've mainly just been doing research on every piece of the car on the forums. It's a little bit overwhelming at times. So much to read!
#9
8/3 Update:
Worked this weekend on getting the interior stripped out and disconnecting some wiring.
Pulled the top and seats out:
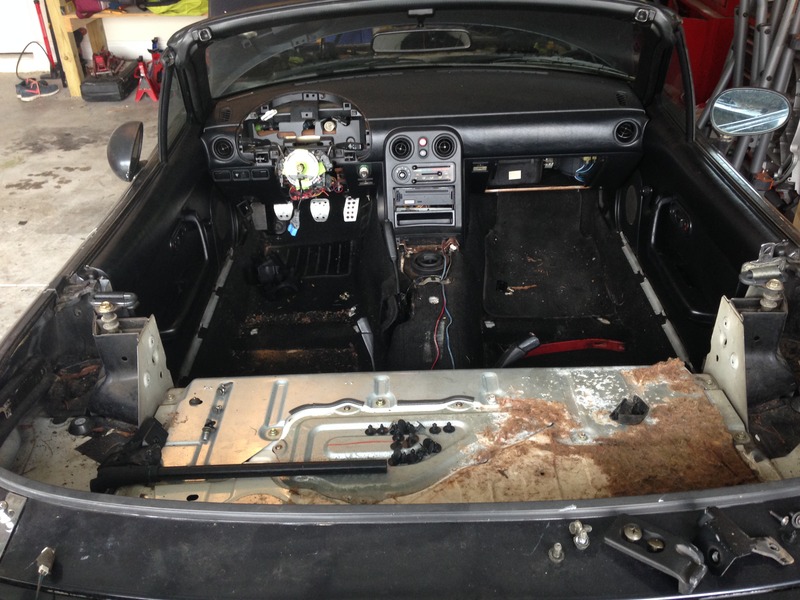
And the dash:
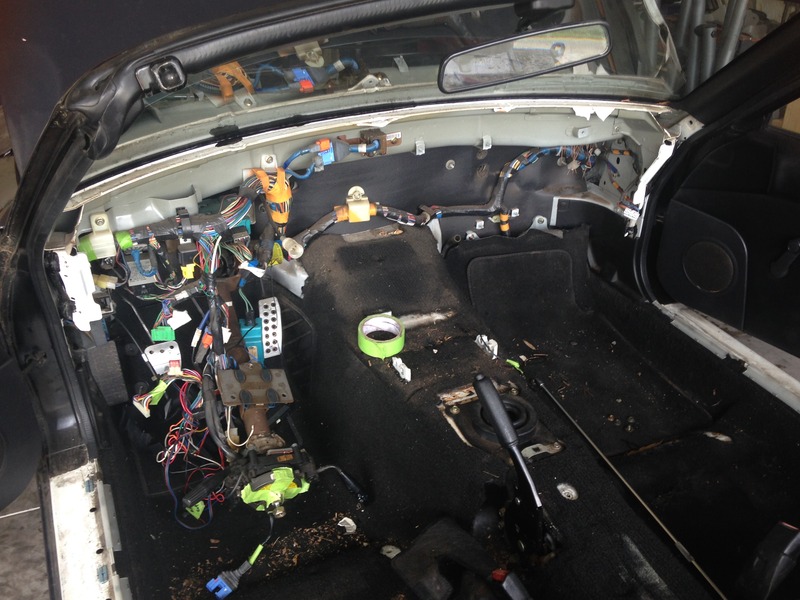
Unfortunately, once the dash was out, I realized that the previous owner had hacked an aftermarket alarm into the harness behind the dash. I'm not sure how all of you guys feel about something like this, but it's definitely not something I was hoping to see.
The aftermarket alarm rats nest:
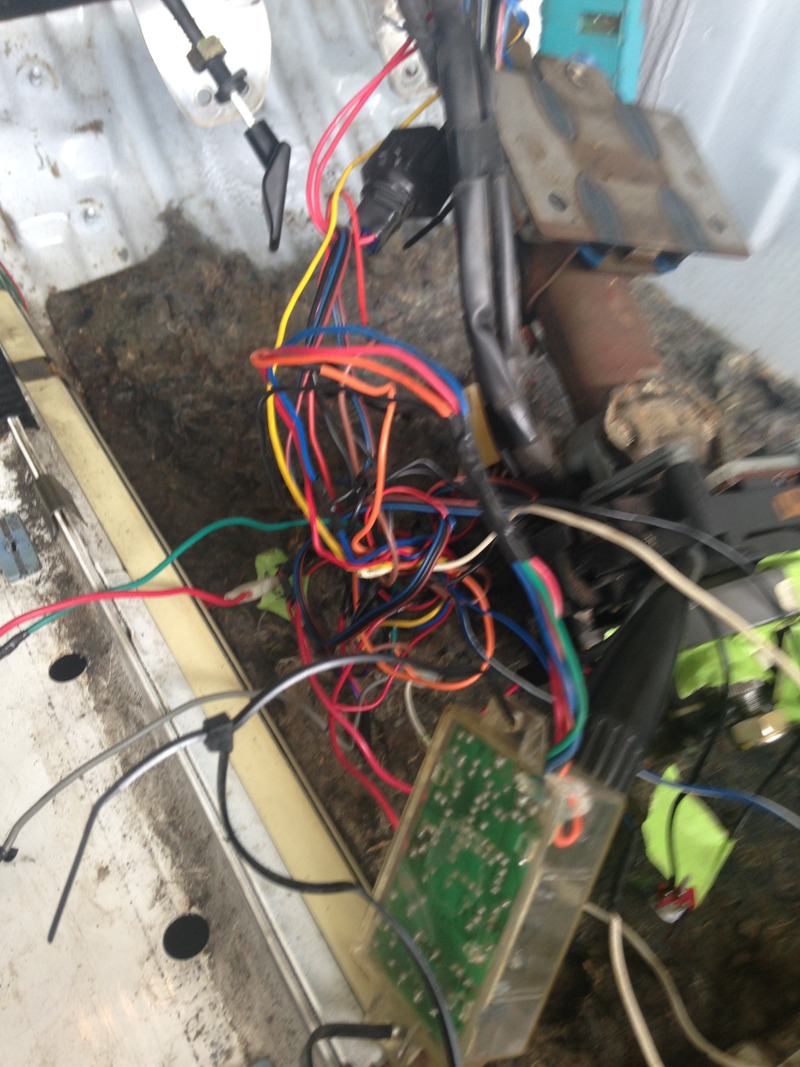
I eventually got all of it cut out (I think).
I have some research to do now on how to remove this harness from behind the dash. It looks like it continues through the firewall on both the passenger and the drivers side. So I'm a little bit confused at the moment on how I'm going to get it all out to do all of the welding and cutting around the tunnel.
Worked this weekend on getting the interior stripped out and disconnecting some wiring.
Pulled the top and seats out:

And the dash:

Unfortunately, once the dash was out, I realized that the previous owner had hacked an aftermarket alarm into the harness behind the dash. I'm not sure how all of you guys feel about something like this, but it's definitely not something I was hoping to see.
The aftermarket alarm rats nest:

I eventually got all of it cut out (I think).
I have some research to do now on how to remove this harness from behind the dash. It looks like it continues through the firewall on both the passenger and the drivers side. So I'm a little bit confused at the moment on how I'm going to get it all out to do all of the welding and cutting around the tunnel.
Last edited by ordonez1307; 08-10-2015 at 01:56 PM.
The following users liked this post:
charchri4 (08-04-2015)
#10
yes the harness is one entire piece. think of it as a U shape. It goes out the firewall on both sides all the way to the front lights. It's honestly not very hard to remove once you've got the dash and engine out.
#11
8/10 Update:
Got into the body/frame modifications over the weekend.
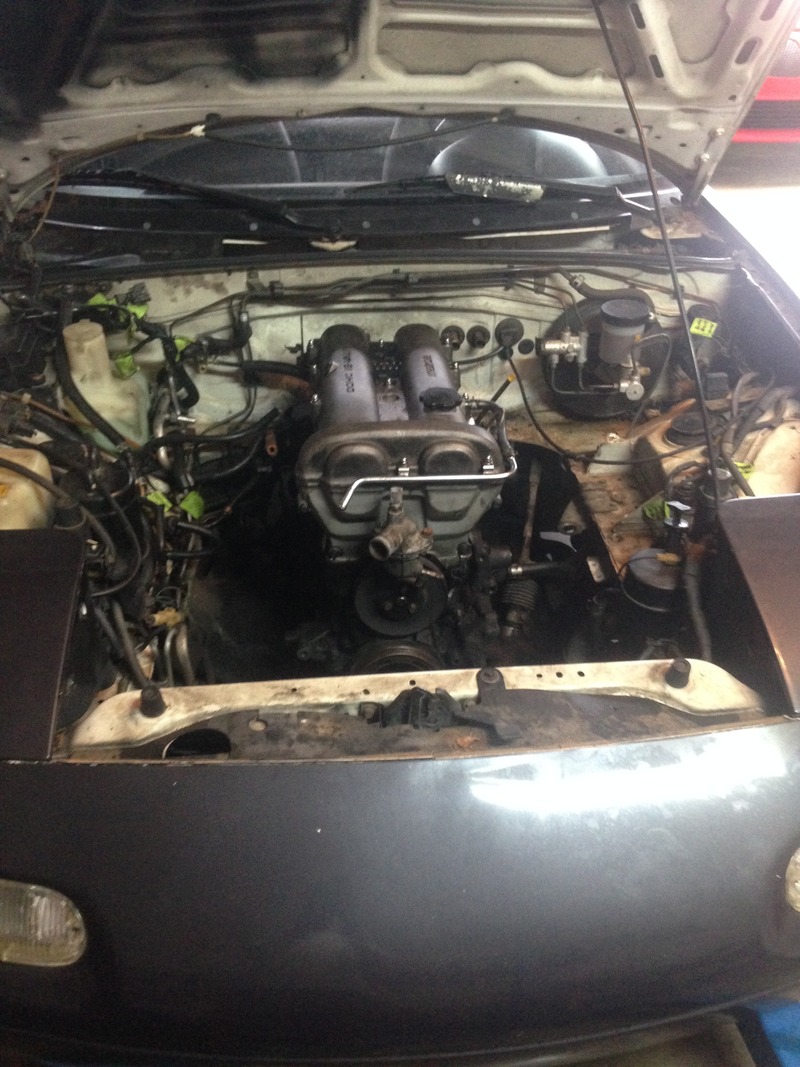
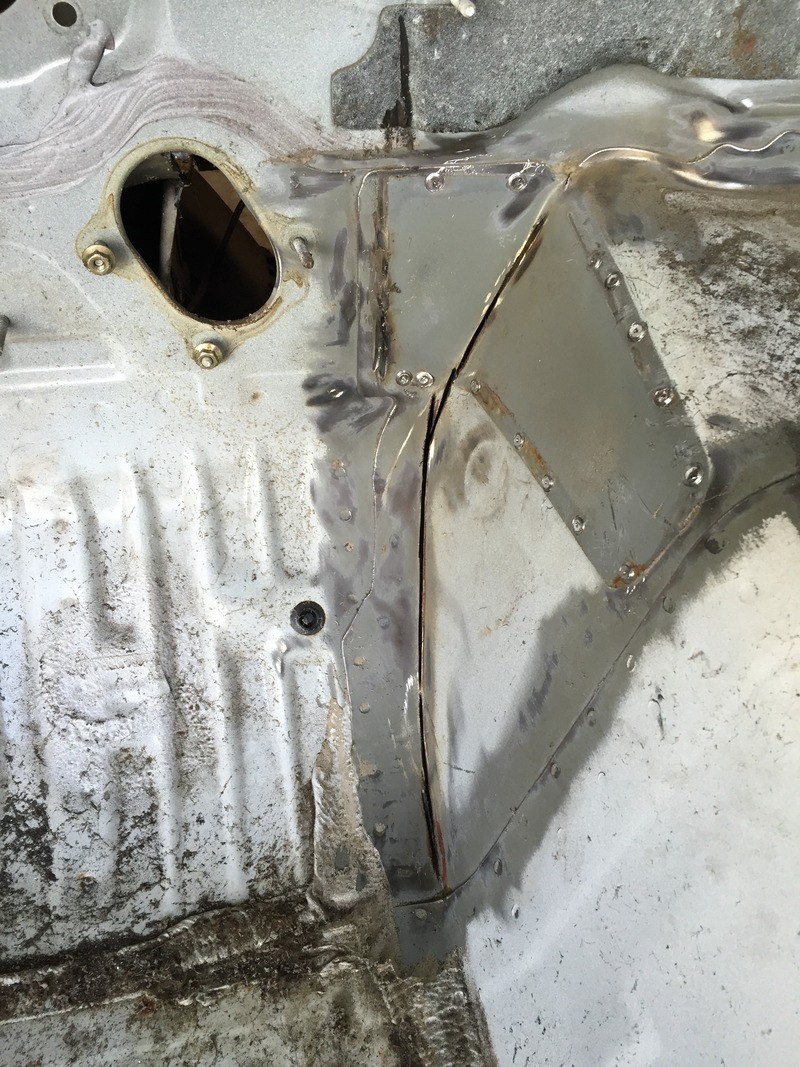
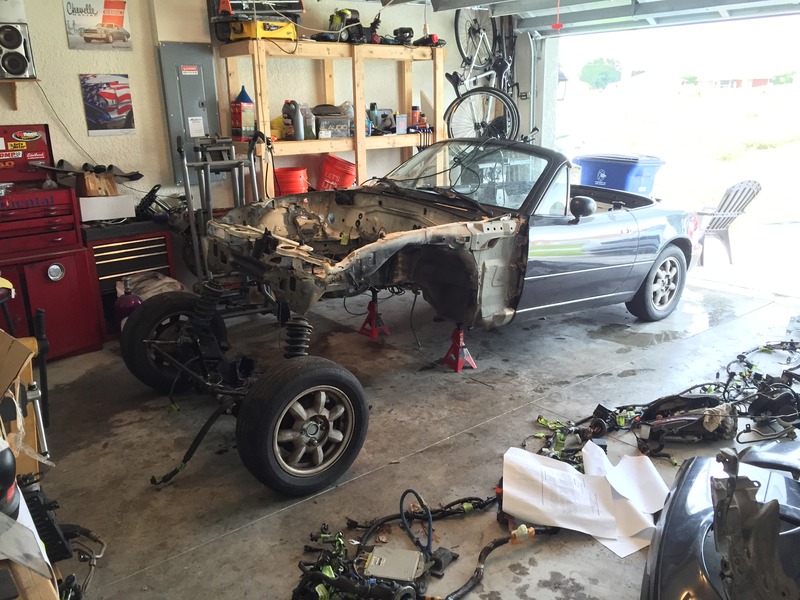
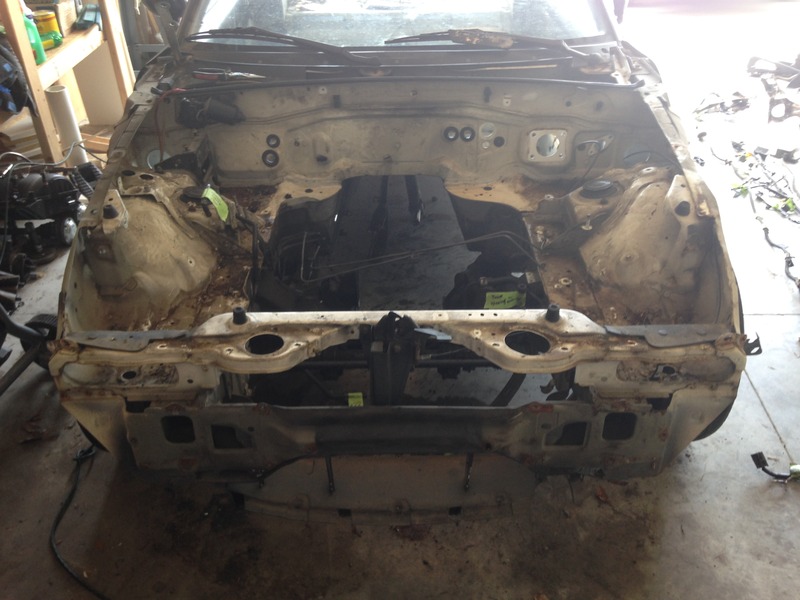
Here is the engine bay stripped out prior to the cutting of the back tabs:
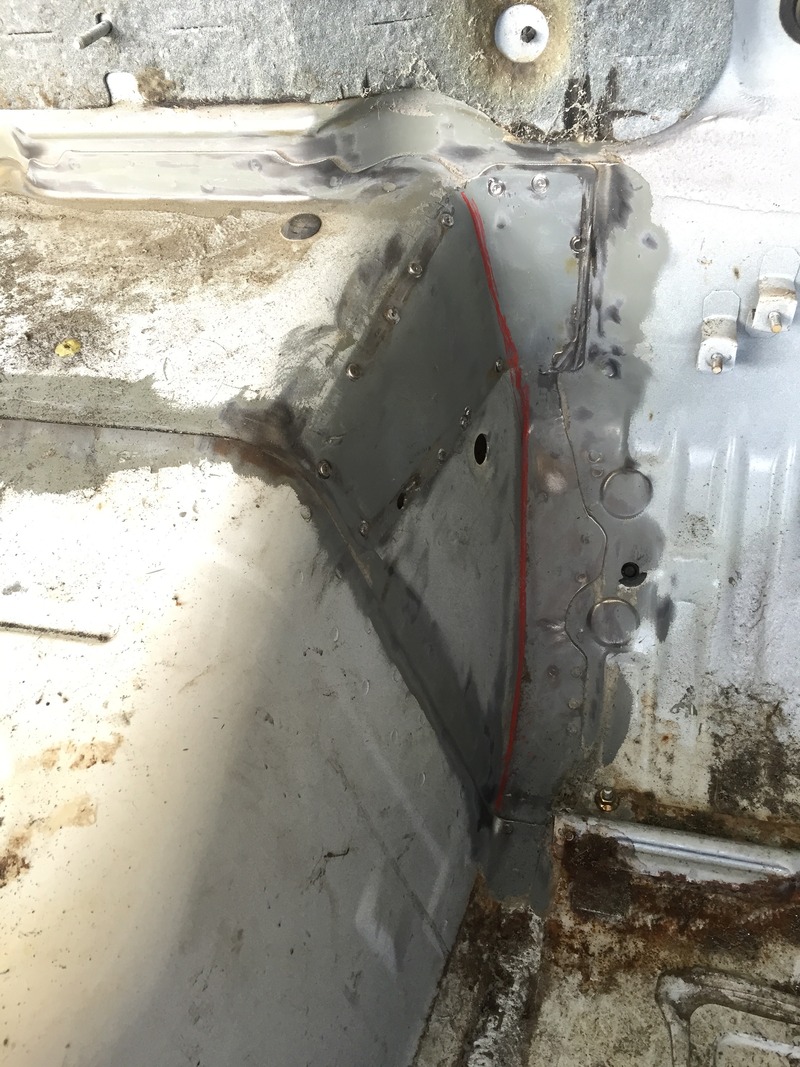
Marked and ready to cut:
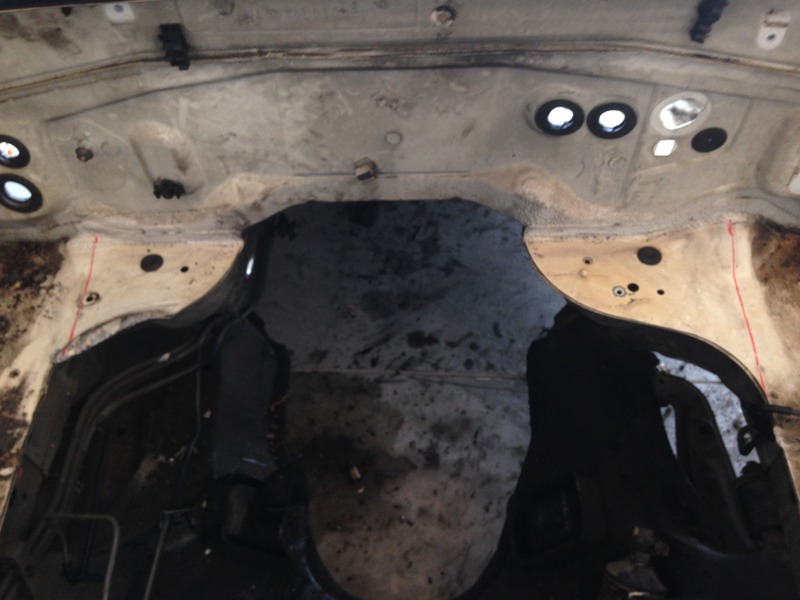
All cut out:
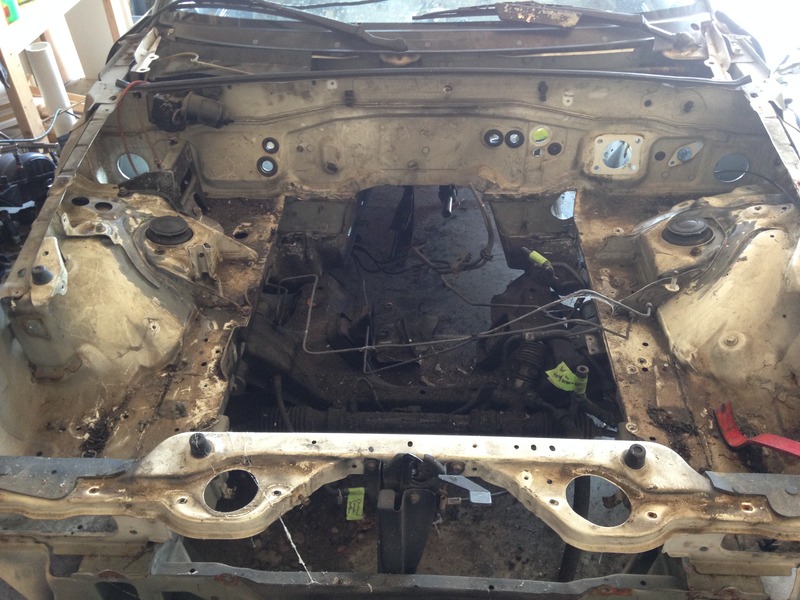
Went and bought the famous Harbor Freight spot weld drill bit: Spot Weld Cutter - 3/8" Spot Weld Cutter Drill Bit
This made getting the transmission tunnel gusset plates much easier.
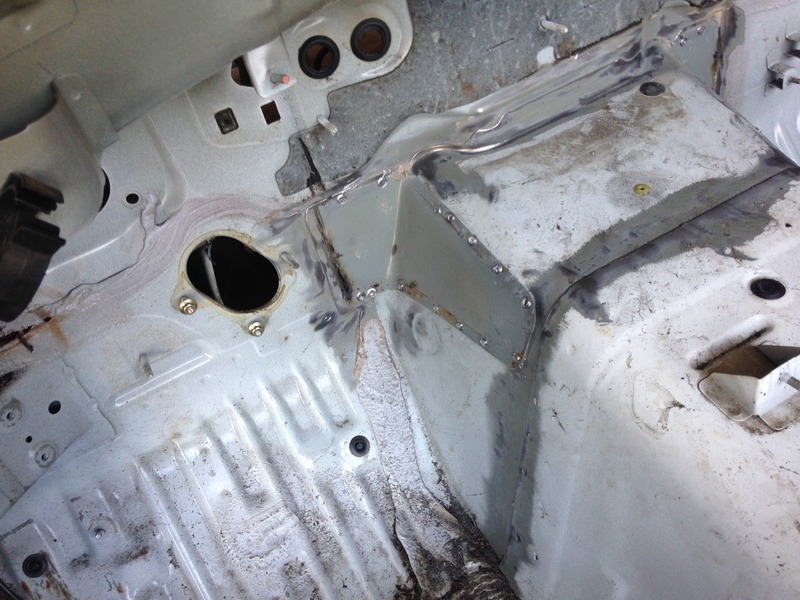
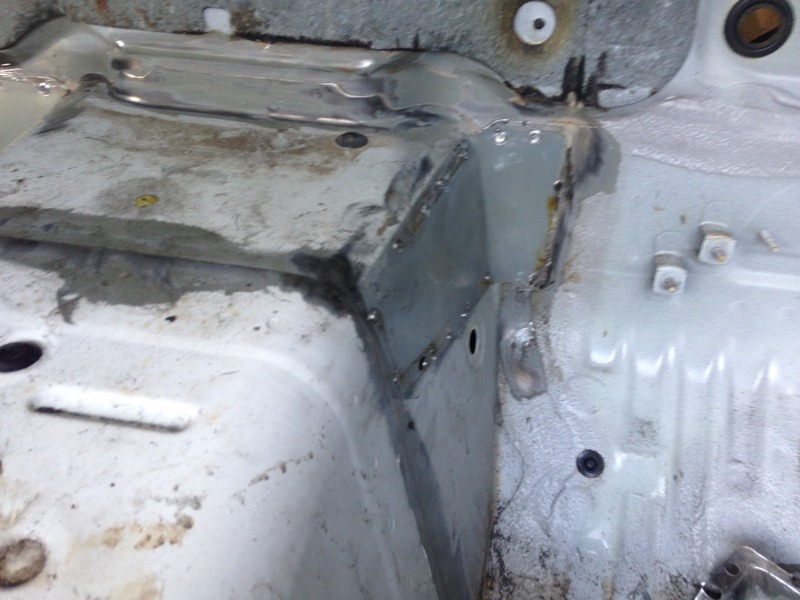
Still need to make the cuts in the tunnel and bang it out with a hammer. I still have the front subframe in the car so I can move it around the garage.
I'm still waiting on the V8R subframe to come in, so I don't want to drop the subframe out of it yet.
Got into the body/frame modifications over the weekend.
Here is the engine bay stripped out prior to the cutting of the back tabs:

Marked and ready to cut:

All cut out:

Went and bought the famous Harbor Freight spot weld drill bit: Spot Weld Cutter - 3/8" Spot Weld Cutter Drill Bit
This made getting the transmission tunnel gusset plates much easier.


Still need to make the cuts in the tunnel and bang it out with a hammer. I still have the front subframe in the car so I can move it around the garage.
I'm still waiting on the V8R subframe to come in, so I don't want to drop the subframe out of it yet.
Last edited by ordonez1307; 08-10-2015 at 04:01 PM.
#12
Not too familiar with the na chassis but on the nb the passenger side trans tunnel needed 90% of the beating. As well as a dedicated dent for the reverse light connector on the t56, which ends up being close to that access hole below the tunnel gussett.
This was a tough time in the build for me, blindly beating on the car hoping if I was doing it right! I came within a 1/4" of going too far on the driver side, luckily I read Jims blog the night before since I was going off FM's instructions.
Good luck and looking good so far!
This was a tough time in the build for me, blindly beating on the car hoping if I was doing it right! I came within a 1/4" of going too far on the driver side, luckily I read Jims blog the night before since I was going off FM's instructions.
Good luck and looking good so far!
Last edited by ItsAllRigged; 08-11-2015 at 06:11 PM.
#15
Must be and NB thing because mine didn't need to be modded at all. When I built it there as talk of needing to make more clearance for the sensors but I never could figure out what the issue was. I think Shannon used Vette sensors or something like that in his NA to solve the problem but I used the stock 02 Camaro sensor and didn't touch the tunnel there. The sensors are all in the trans in these photos so maybe someone and tell what they needed to mod on theirs.
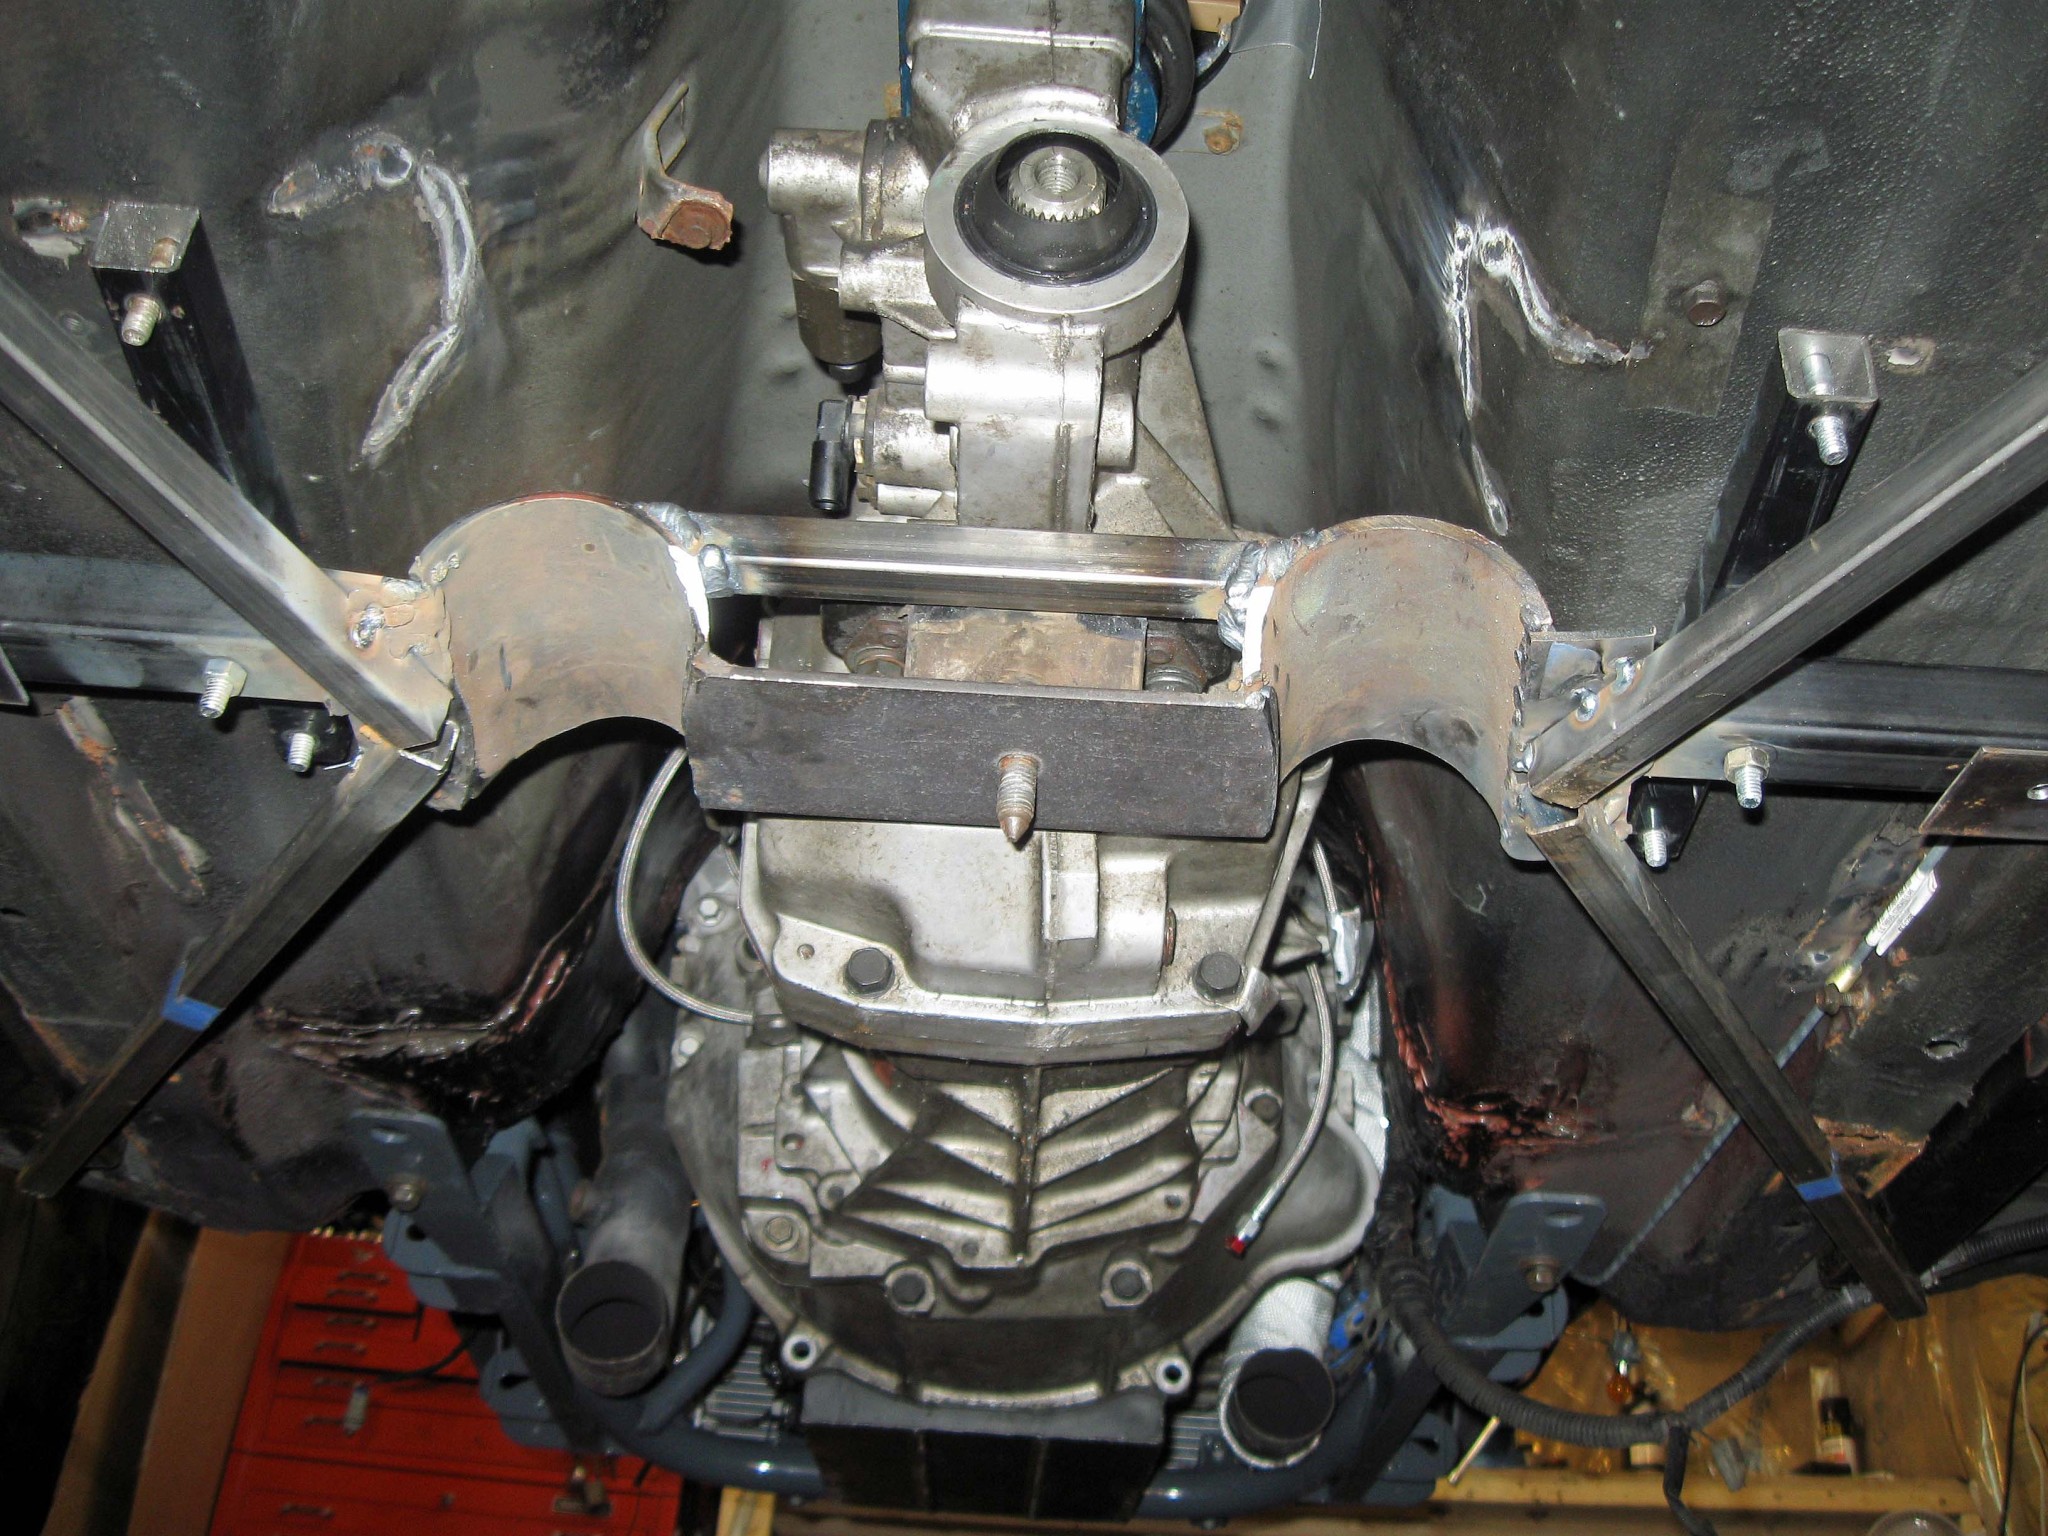
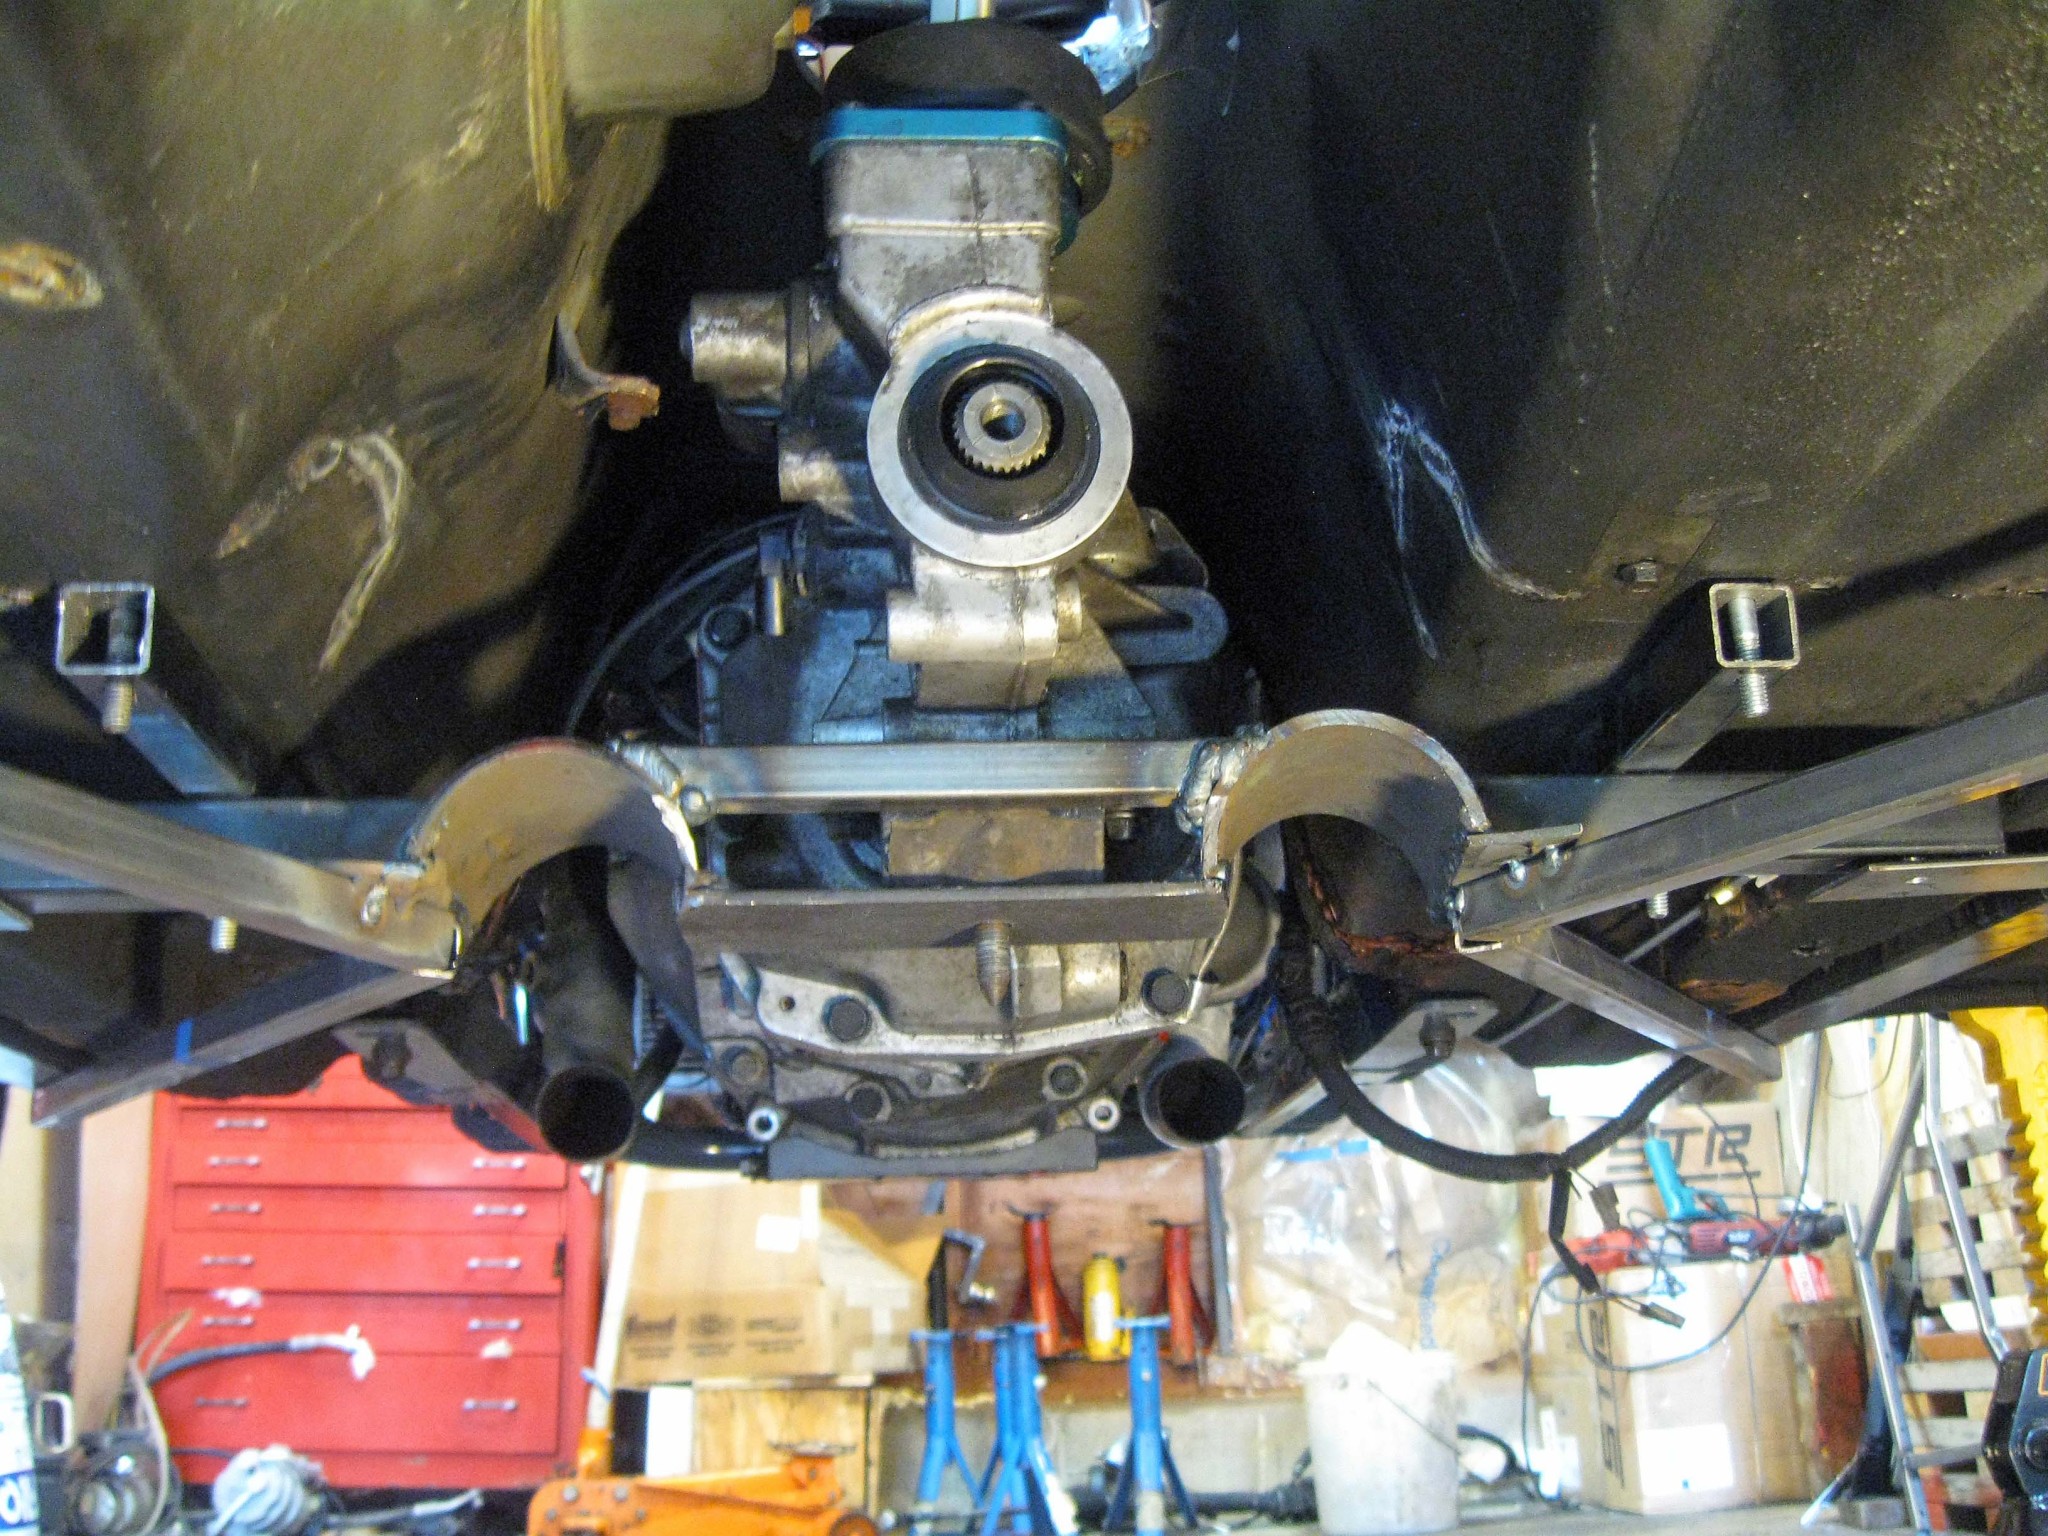
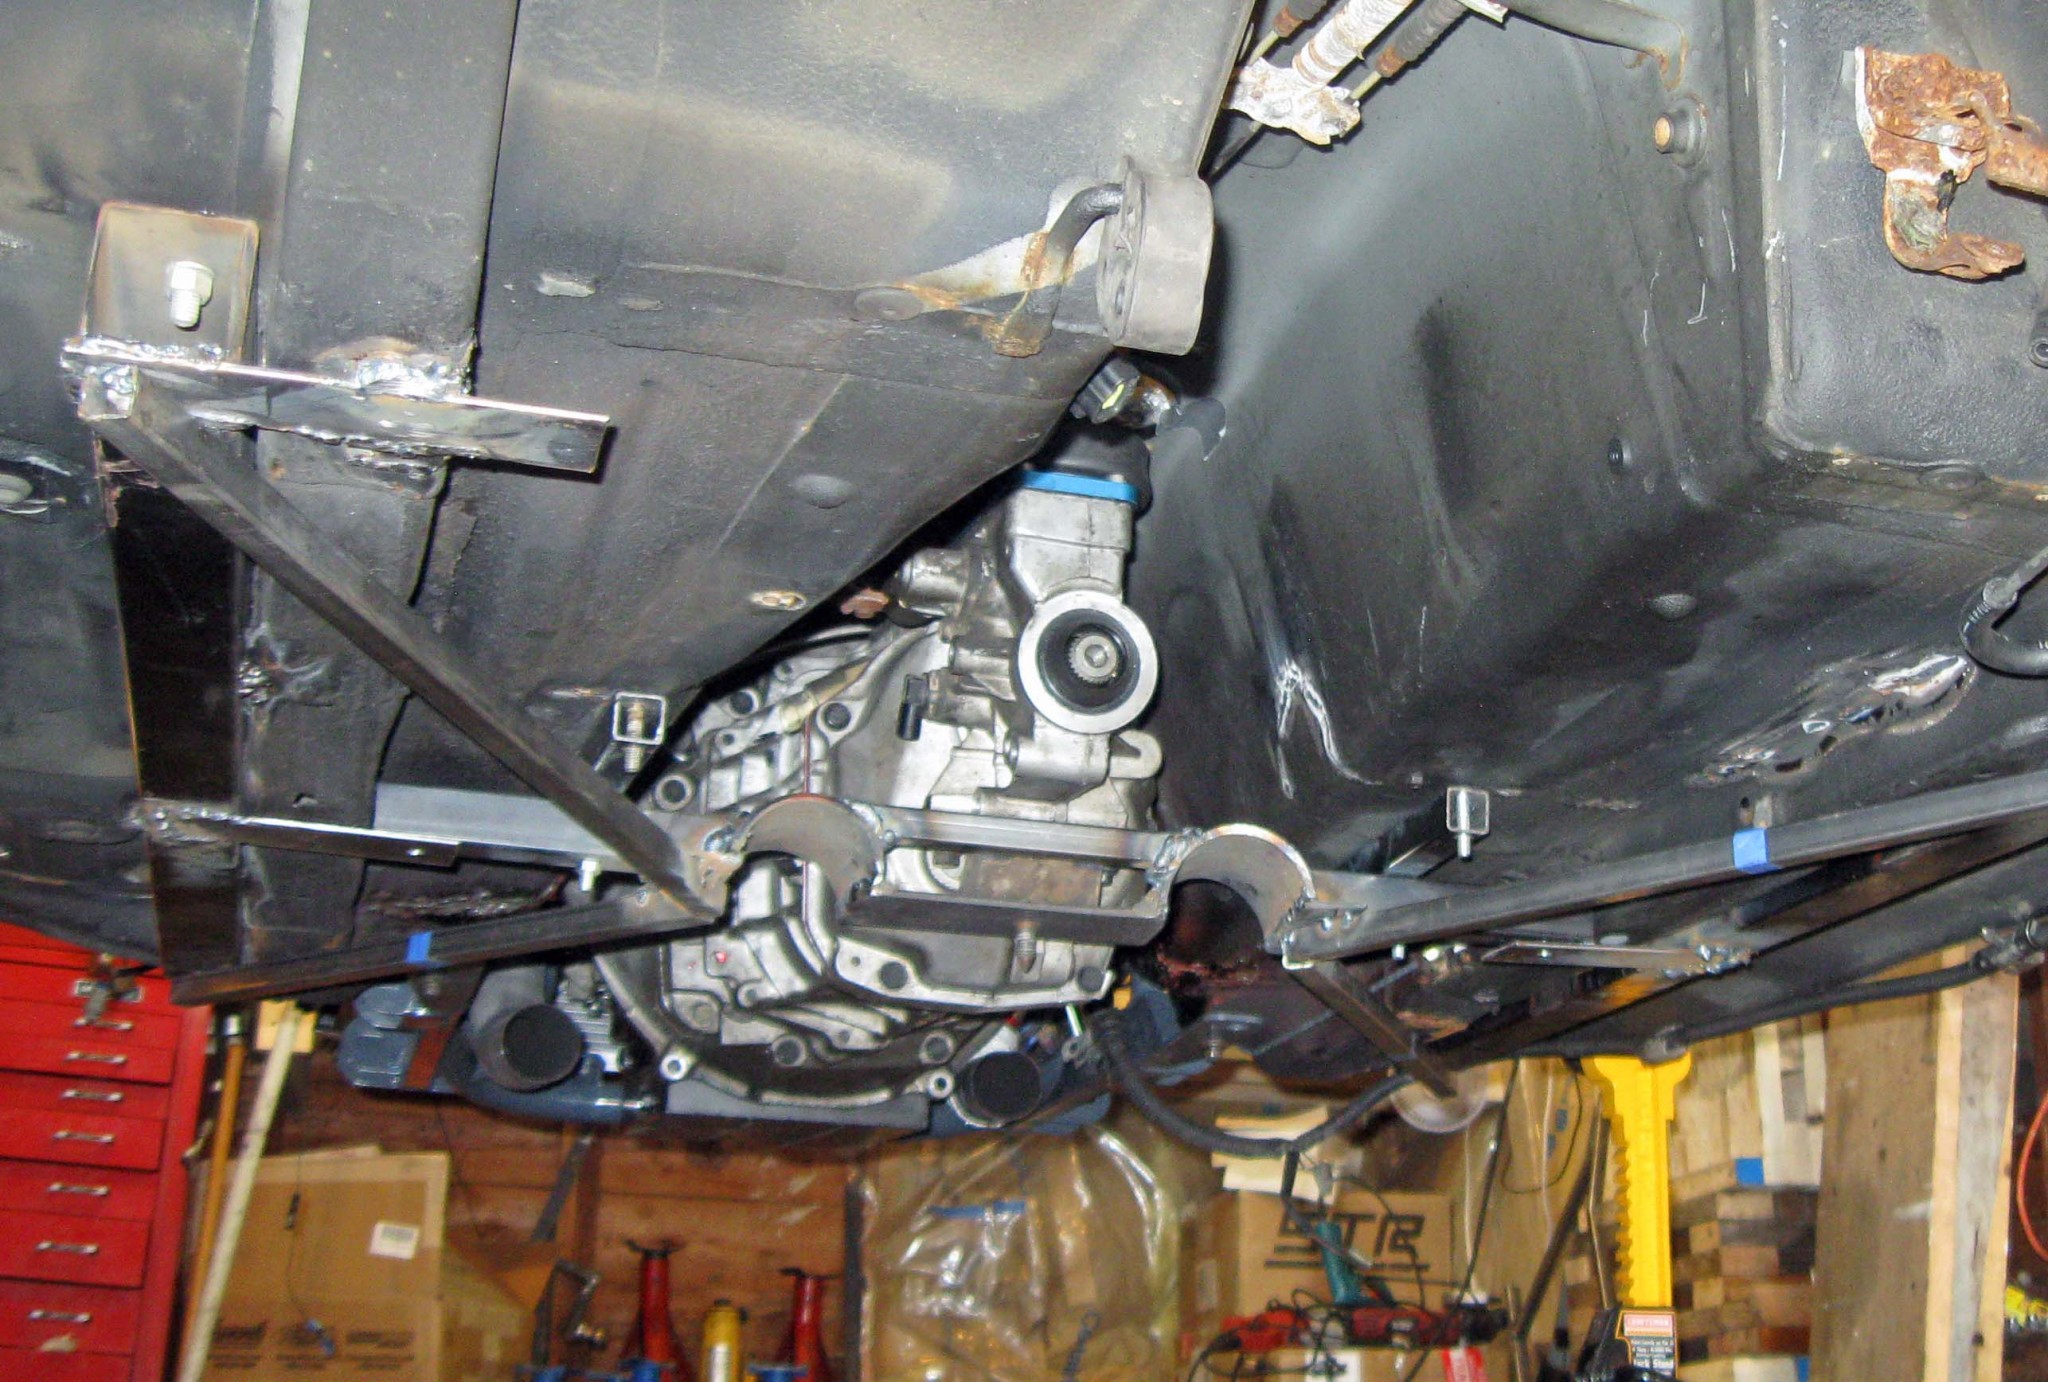
18000 miles and no issues with it.


18000 miles and no issues with it.
#16
Search for the Ford back up switch to replace the GM one. The Ford one has a plug at 90 degree angle so you avoid that tight, RH side clearance issue with the GM one that faces the trans tunnel wall... It's plug n play as well. I have the part no (Ford Motocraft box) shown somewhere in the first 3-4 pages probably in my build thread.
The following users liked this post:
SupaDupaSteve (08-12-2015)
#18
8/17 Update Continued:
I pulled the Miata out of the garage for the first time since I got it. This thing must have been living under a tree for a while as there was more dirt/bugs/whatever everywhere in the car.
Now that it's stripped down, I pressure washed the entire car inside and out. I also got underneath it, so it should be a little cleaner to work on for the remainder.
A few before pictures:
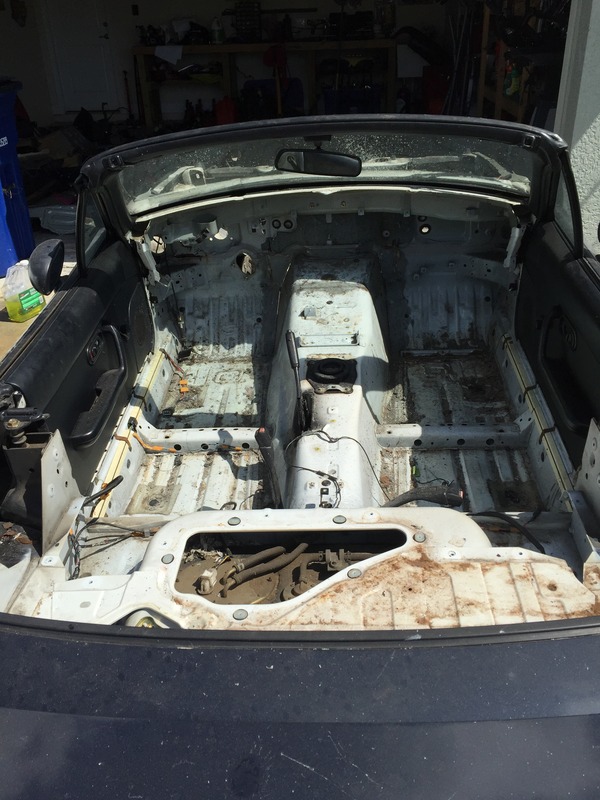
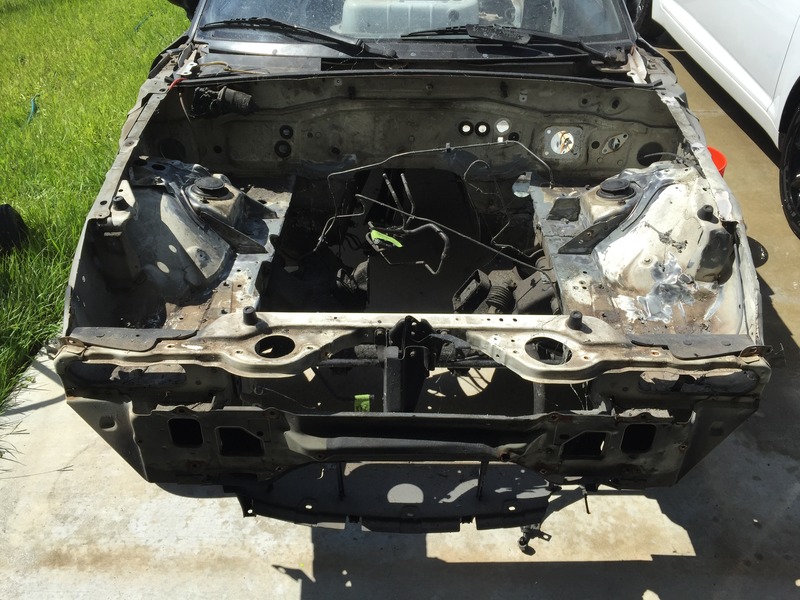
And after it was all cleaned:
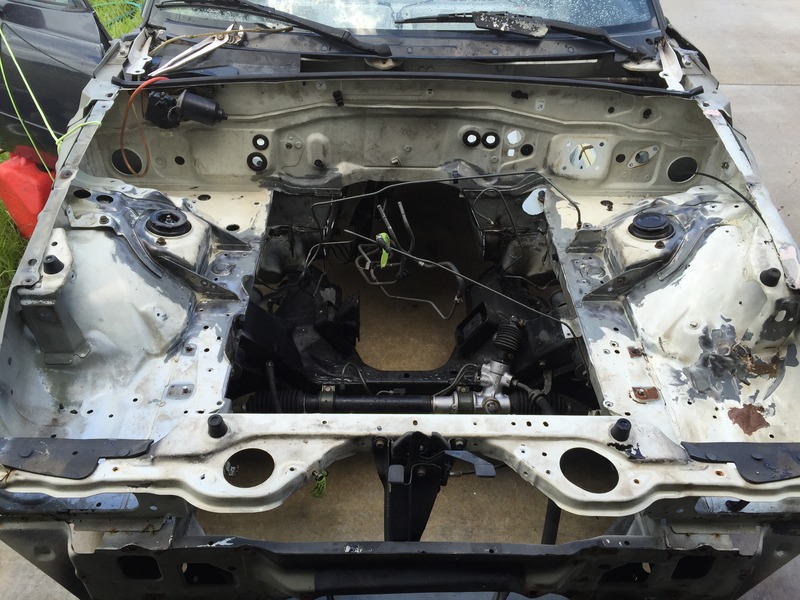
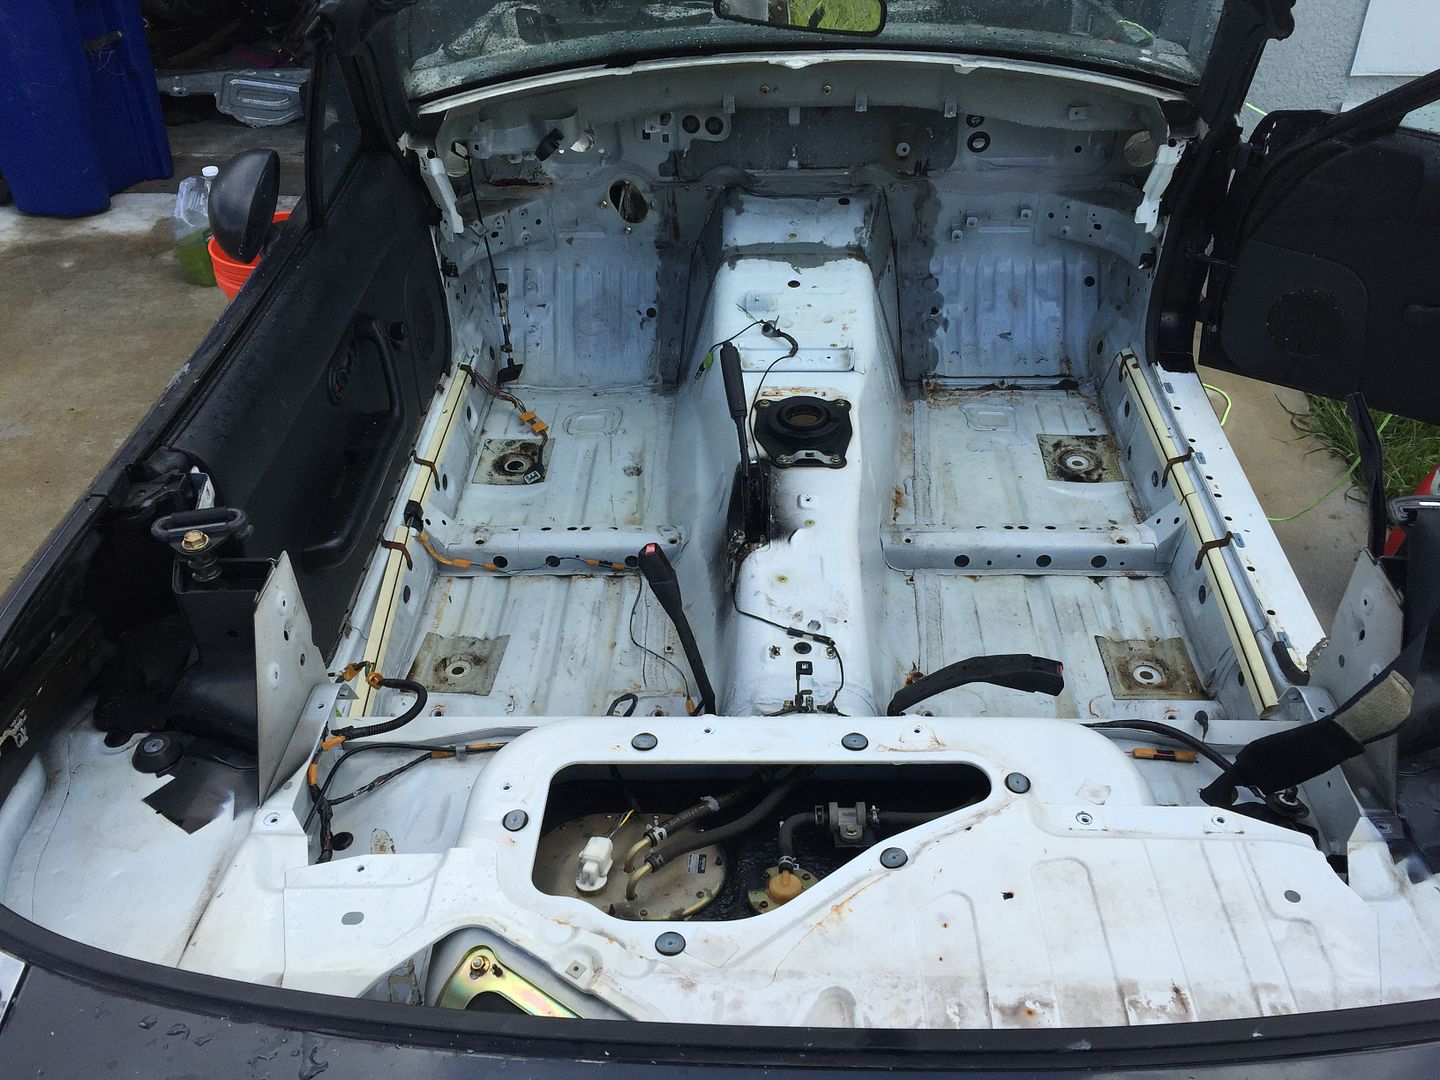
I know it doesn't look like much, but it made all the difference.
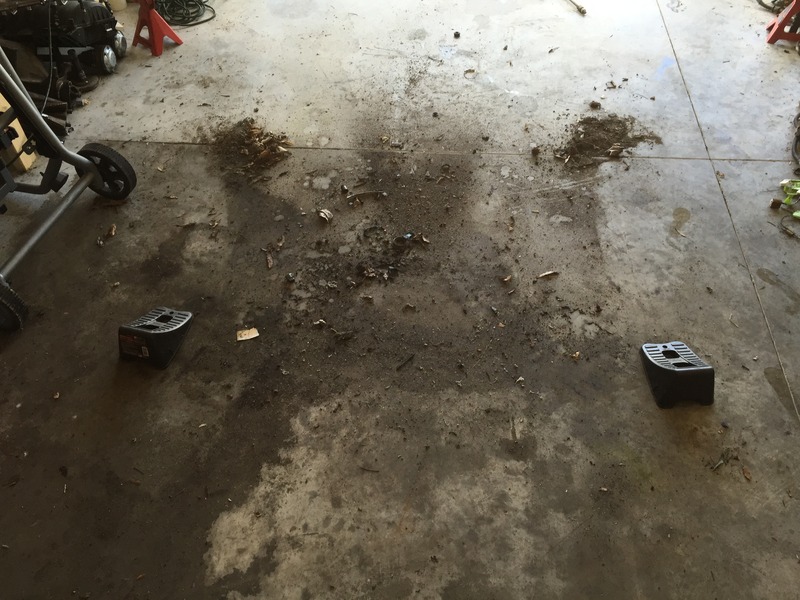
It also gave me a chance to clean up the garage from whatever had fallen out of it.
I pulled the Miata out of the garage for the first time since I got it. This thing must have been living under a tree for a while as there was more dirt/bugs/whatever everywhere in the car.
Now that it's stripped down, I pressure washed the entire car inside and out. I also got underneath it, so it should be a little cleaner to work on for the remainder.
A few before pictures:


And after it was all cleaned:


I know it doesn't look like much, but it made all the difference.
It also gave me a chance to clean up the garage from whatever had fallen out of it.

#19
#20
Aaah, your pics bring back such good memories! You're getting into the fun stuff now, cutting, cleaning, and ordering the go-fast parts! Having a clean chassis and work space will definitely get rid of some possible frustrations as well. Keep posting up, it's gonna look great.
#22
Tore the front suspension down and realized this thing is in worse shape than I thought.
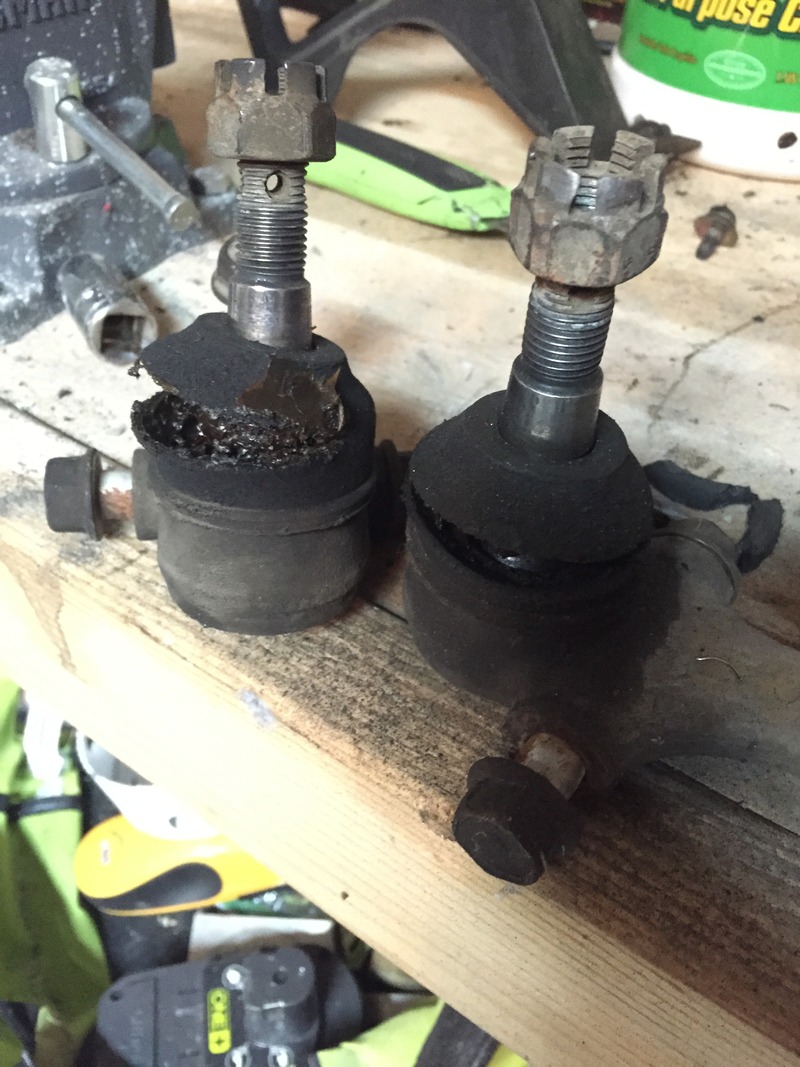
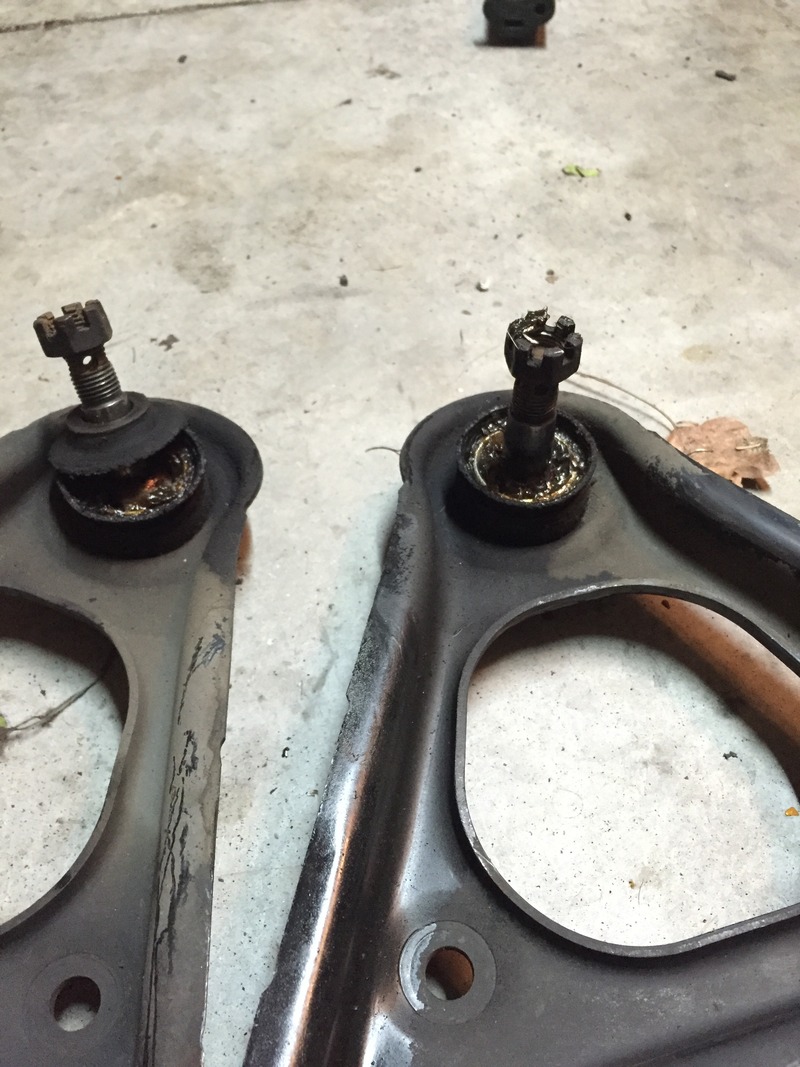
Every bushing, tie rod, ball joint, etc. are shot.
So I ordered new upper control arms and ball joints for the lower control arms. I'm putting poly bushings in it, so it wasn't that big of a deal.
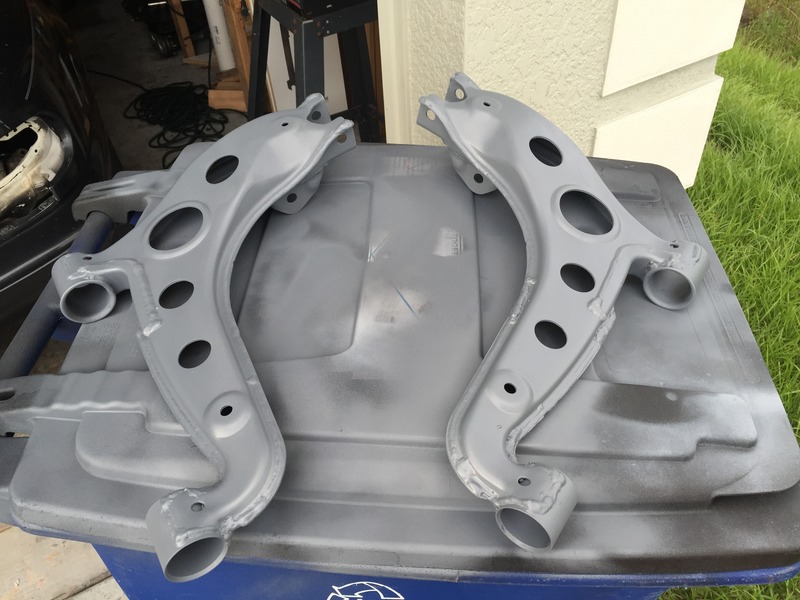
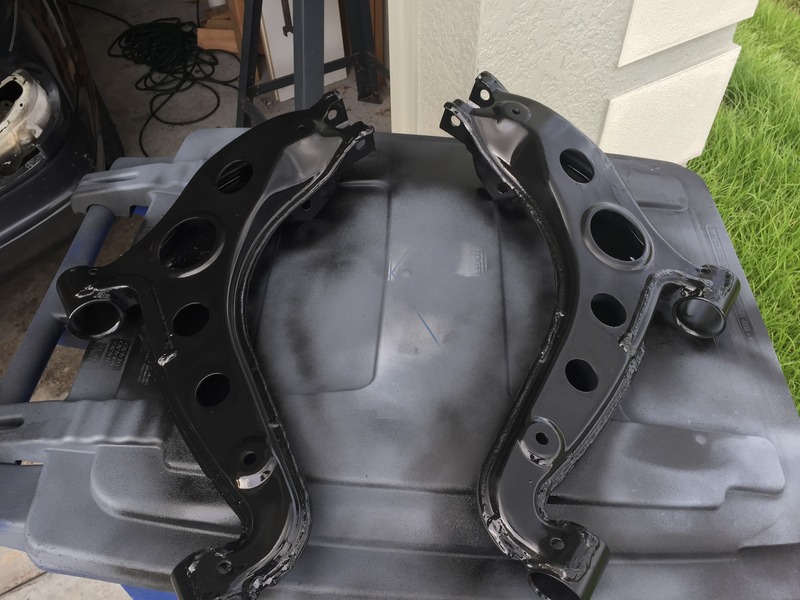
Since I'm getting new upper control arms anyway, I figured I would paint up the lowers.


Every bushing, tie rod, ball joint, etc. are shot.
So I ordered new upper control arms and ball joints for the lower control arms. I'm putting poly bushings in it, so it wasn't that big of a deal.
Since I'm getting new upper control arms anyway, I figured I would paint up the lowers.


#23
9/11 Update:
I need some help on this.
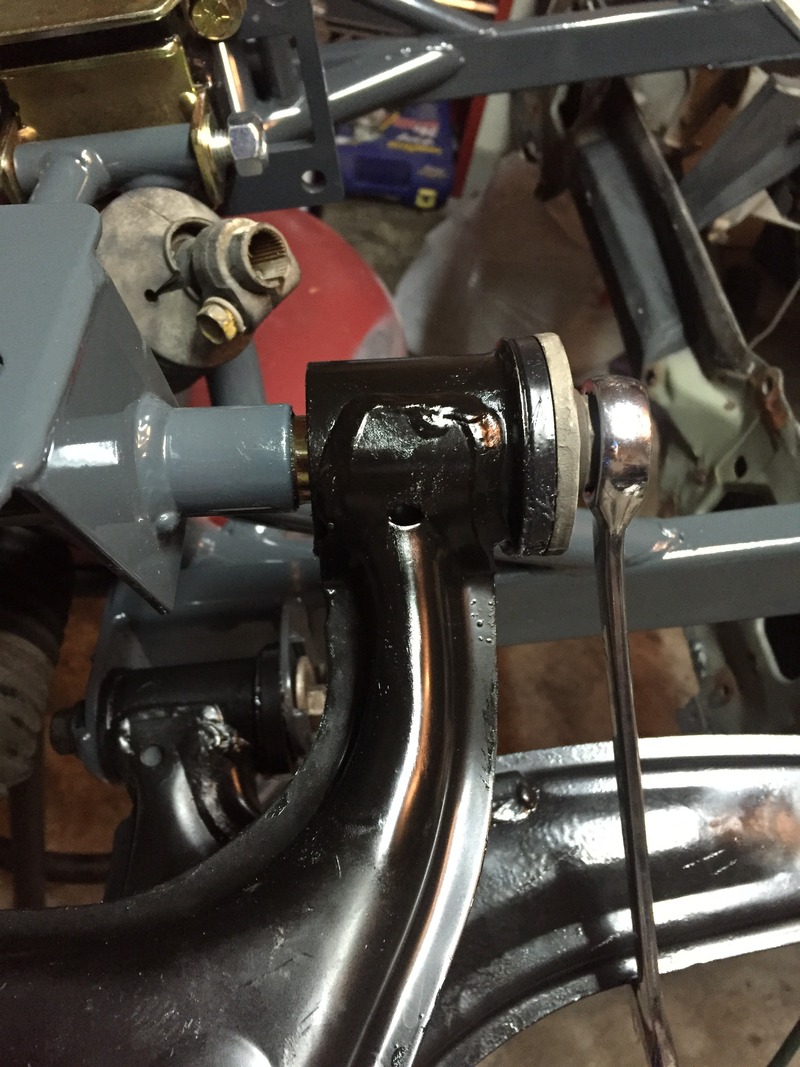
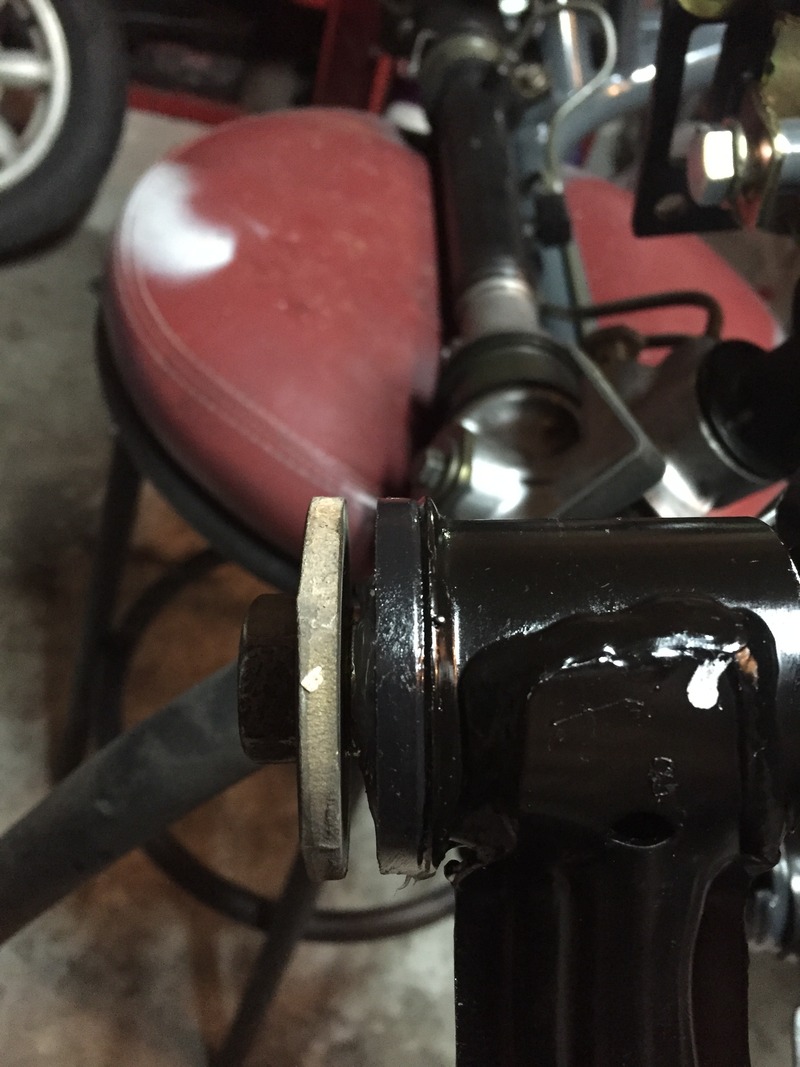
My upper control arms look funny now that they are installed. There is a gap between the bushing and the V8R Engine Mount. The sleeve for the bushing is touching the V8R mount directly.
Do any of you guys have pictures of what yours looked like at this point? I am unable to tighten the long Upper Control Arm Bolt any further due to the sleeve.
Here are some pictures of what I'm talking about:
The gap here looks too big and has the sleeve touching the V8R kit directly
And looks the same on the front of the arm. This side will not allow the large washer to sit flush against the bushing:
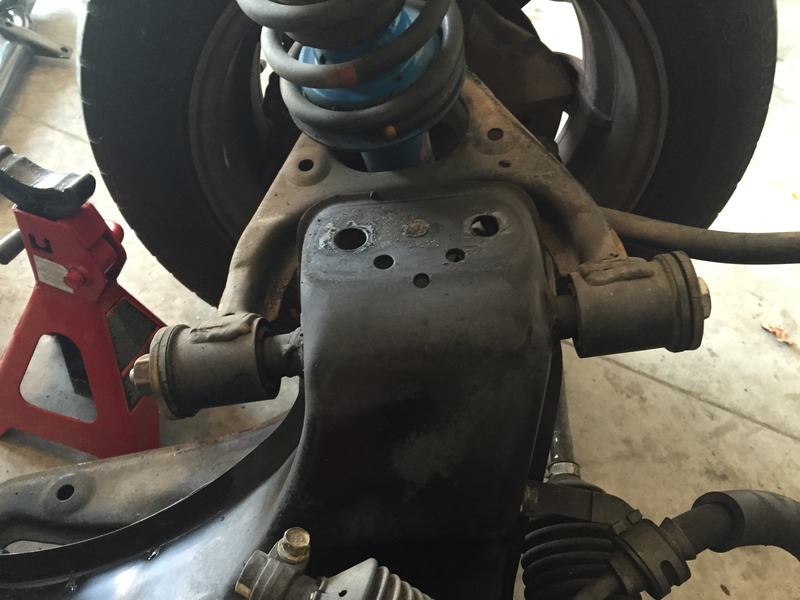
Here is what it looked like before I sent took it apart:
I need some help on this.
My upper control arms look funny now that they are installed. There is a gap between the bushing and the V8R Engine Mount. The sleeve for the bushing is touching the V8R mount directly.
Do any of you guys have pictures of what yours looked like at this point? I am unable to tighten the long Upper Control Arm Bolt any further due to the sleeve.
Here are some pictures of what I'm talking about:
The gap here looks too big and has the sleeve touching the V8R kit directly

And looks the same on the front of the arm. This side will not allow the large washer to sit flush against the bushing:

Here is what it looked like before I sent took it apart:

#24
9/21/15 Update:
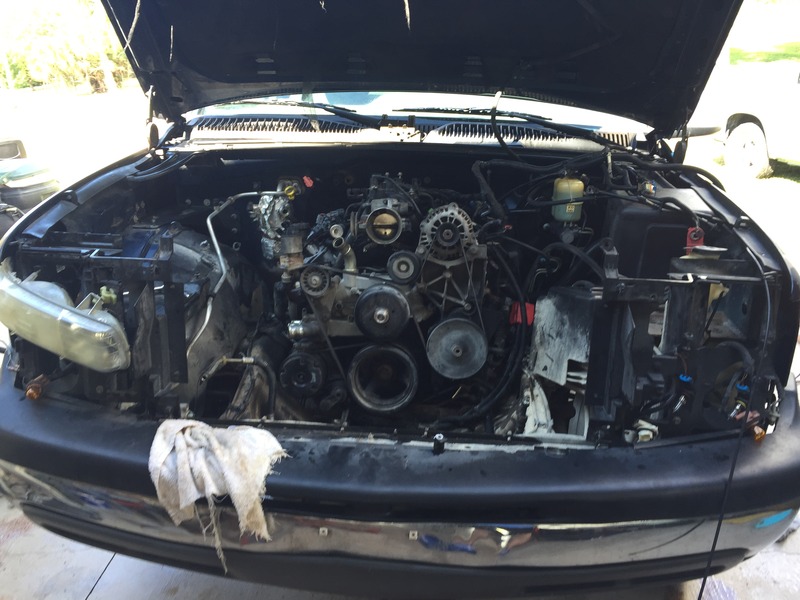
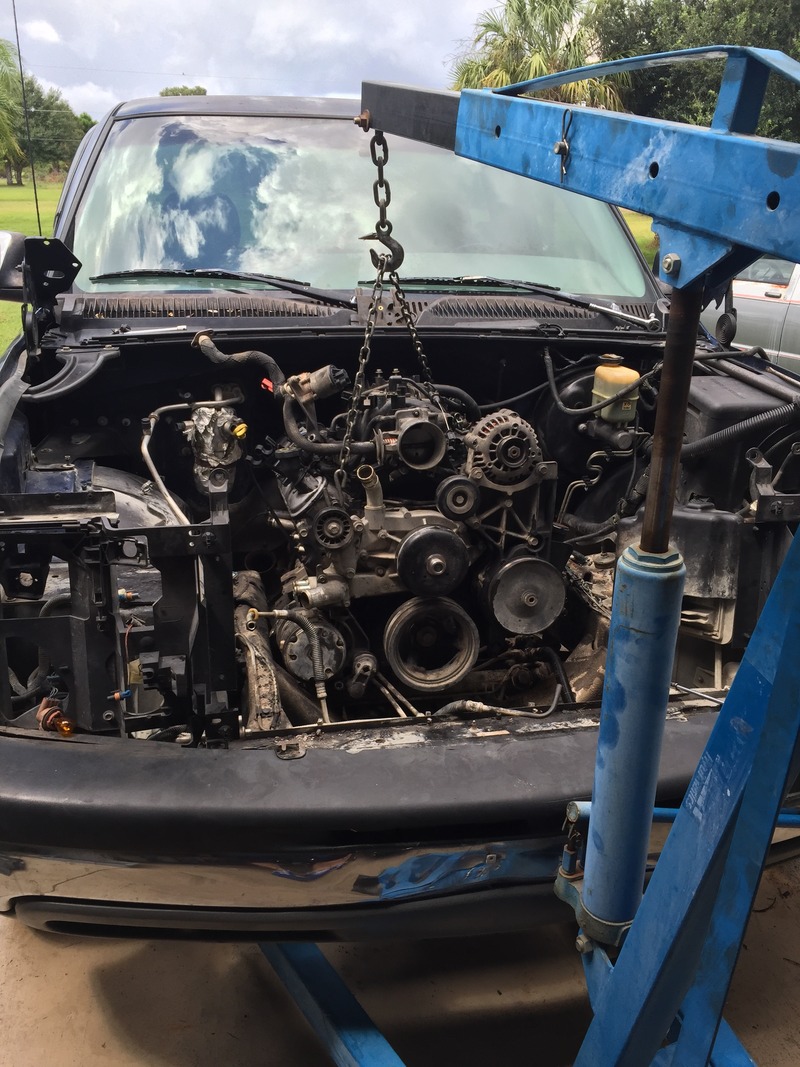
I found a 5.3L LM7 motor on Craigslist early last week and finally got some time to look at it. It was in a 1999 Silverado, so I took the truck for a test drive. It ran great with no issues. I went and pulled it out this weekend and got it on the stand.
In the truck:
Pulling it Out:
Just got her home:
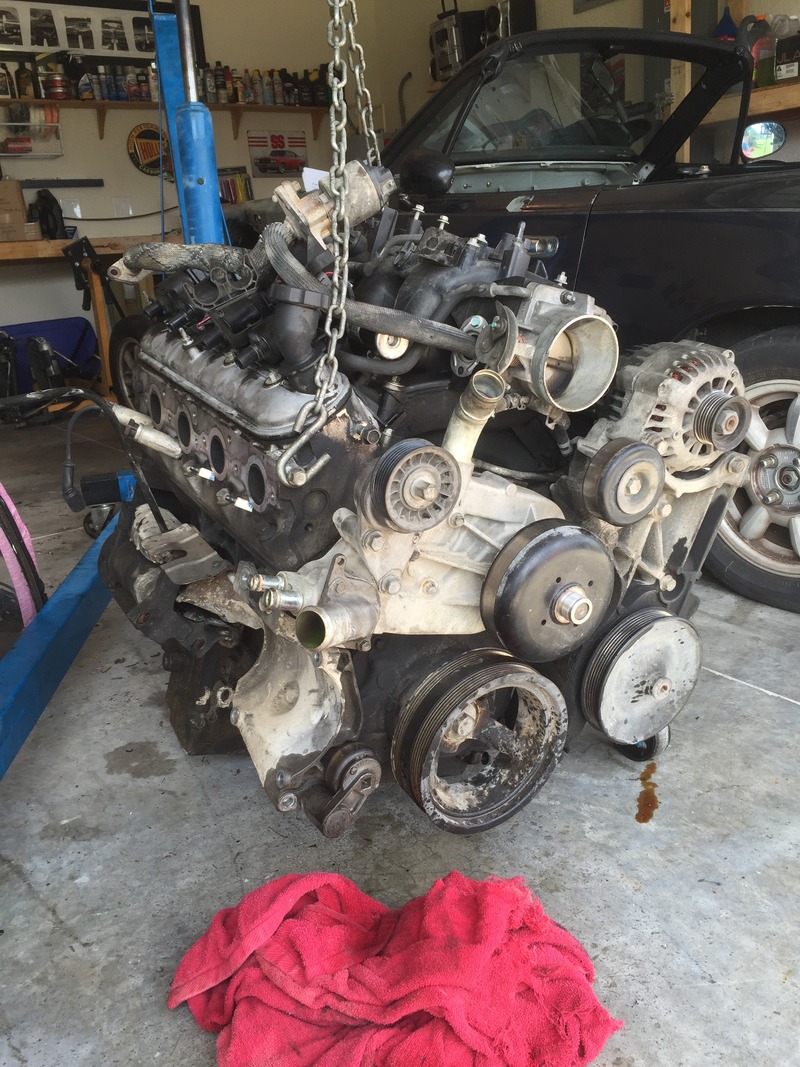
On the Stand:
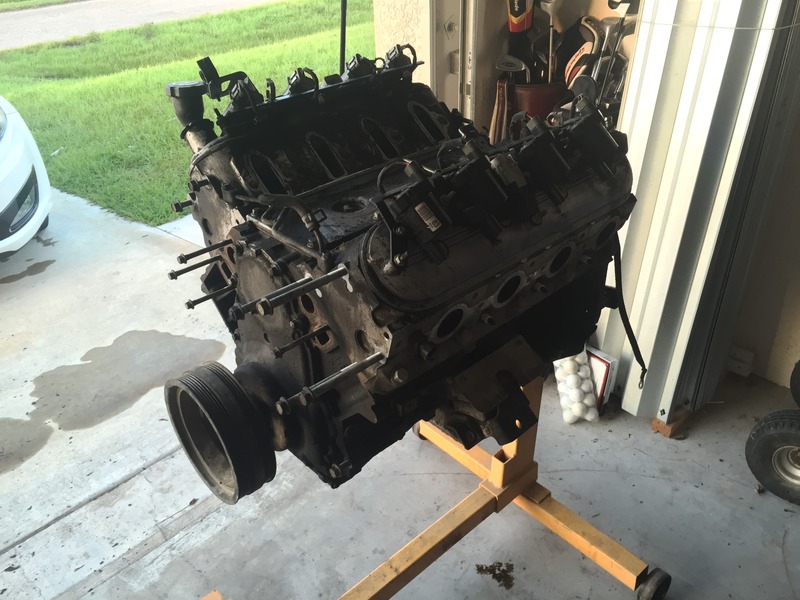
I found a 5.3L LM7 motor on Craigslist early last week and finally got some time to look at it. It was in a 1999 Silverado, so I took the truck for a test drive. It ran great with no issues. I went and pulled it out this weekend and got it on the stand.
In the truck:

Pulling it Out:

Just got her home:

On the Stand:

#25
10/15/15 Update:
Ordered the heads/cam combo today.
PRC Stage 2.5 Heads
Texas Speed 228R
7.375 Pushrods
LS6 Oil Pump
Cloyes LS1/LS6 Single Roller Timing Chain Set
And all the gaskets/bolts, etc.
Still need to decide on an oil pan.
Ordered the heads/cam combo today.
PRC Stage 2.5 Heads
Texas Speed 228R
7.375 Pushrods
LS6 Oil Pump
Cloyes LS1/LS6 Single Roller Timing Chain Set
And all the gaskets/bolts, etc.
Still need to decide on an oil pan.


